


How I Prepare Fresh Goby Specimens
Jing-Xuan Chen
Mar 19th, 2026
Gobies are notoriously difficult to prepare, not only because of their small size and fragile fin membranes, but also because of their rapid and often dramatic color changes after death. This challenge is even greater in smaller species. Their bodies are soft and easily distorted, and many important diagnostic characters such as head shape, the pelvic disc, and the dorsal fins can be altered during handling.
Since late 2024, I have prepared approximately 300 species of marine and brackish gobies, and based on this experience, I would like to share a practical workflow here.
For large-bodied gobies, I generally follow the standard protocol described by Motomura & Ishikawa's 2013 guide, whose English version can be found at Kagoshima University Museum's homepage. However, for small species, I have found that several minor but critical details are often overlooked. These seemingly trivial steps can greatly affect the final specimen quality, especially for photography and morphological observation.
This page summarizes my personal workflow. My goal during preparation is simple: keep the body straight and natural, but fully display fins without damage.
Fresh specimens
Unlike many other marine fishes which may still be suitable for photography even several days after death, gobies change rapidly once they die. The head typically turns dark first, followed by a general fading or whitening of the body. In addition, because gobies contain relatively high fat content, they decay quickly. Their fin membranes also become fragile after death. For these reasons, I take all photographs as soon as possible after death. If photography must be performed immediately due to time constraints, euthanasia can be used. I use phenoxyethanol; preparing by adding a dip to ~100 mL of water; specimens typically die within about one hour in it. For rare species where only dead specimens are available, I recommend the following approach: place the specimen in a bottle filled with seawater at approximately the same salinity as its natural habitat, then freeze the entire bottle as quickly as possible. This helps preserve the specimen in a condition closer to freshly dead, and also makes it easier to transport.
Phenoxyethanol is used for euthanasia.
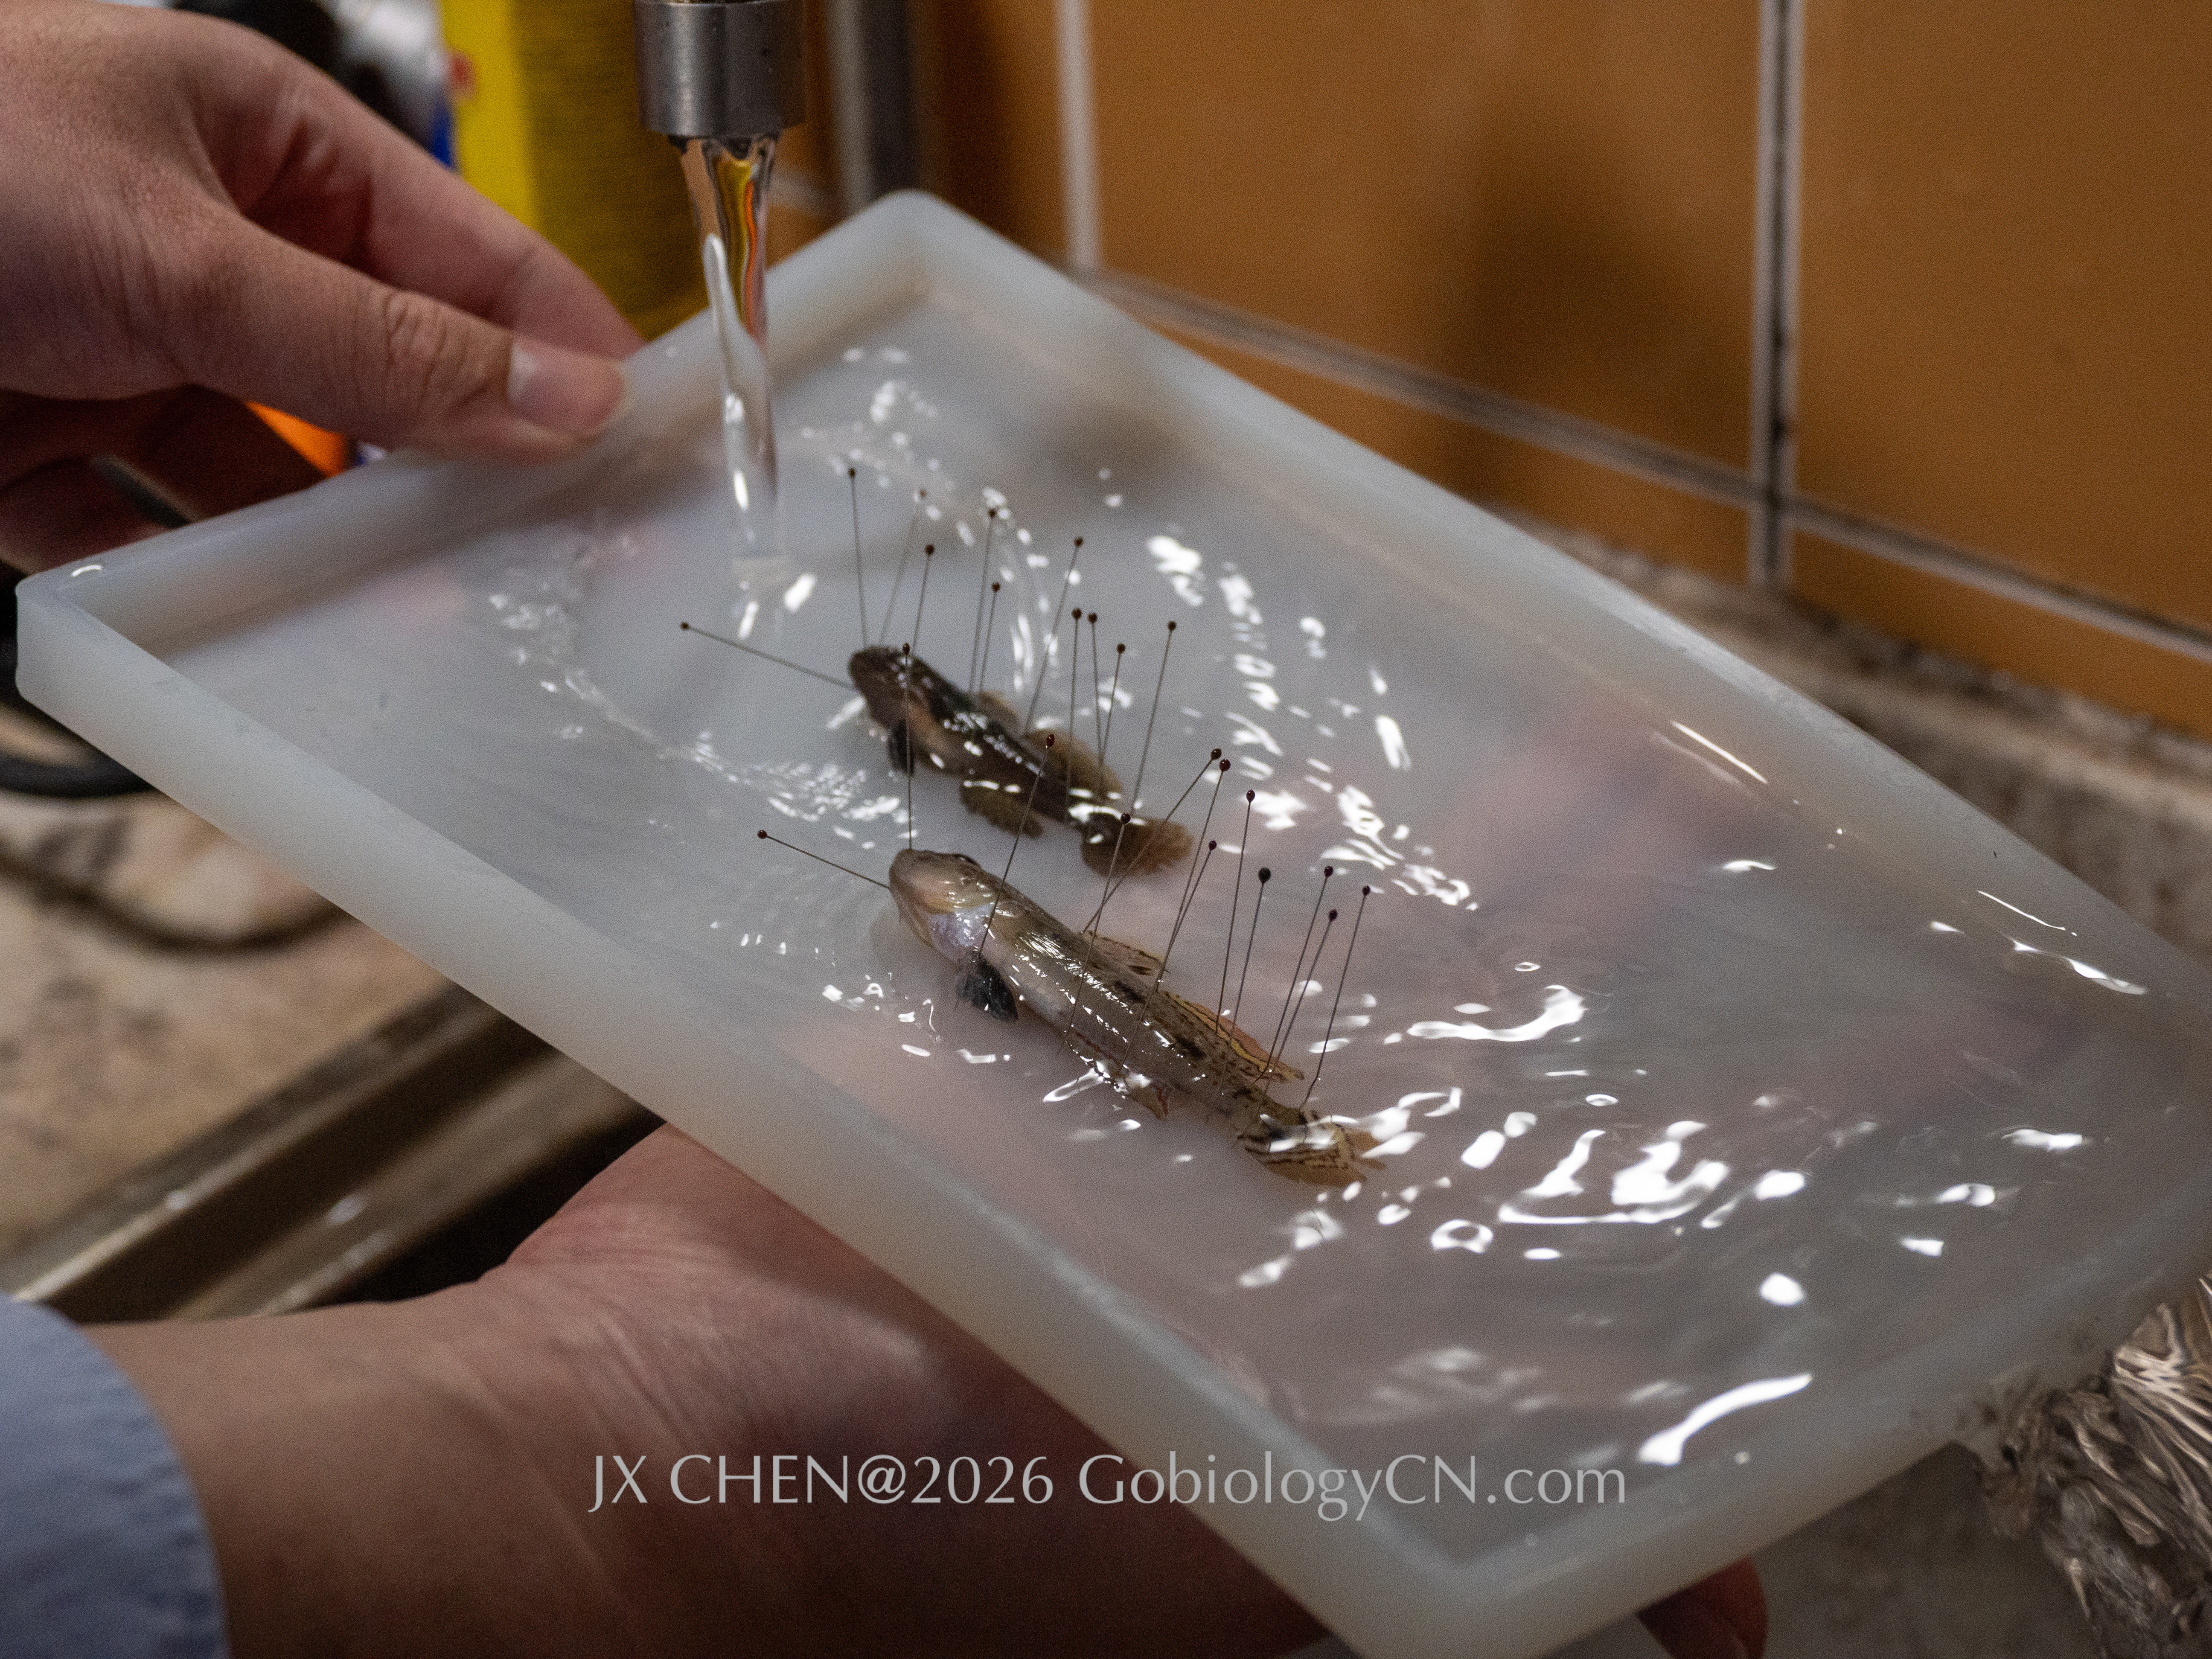
Pinning and positioning
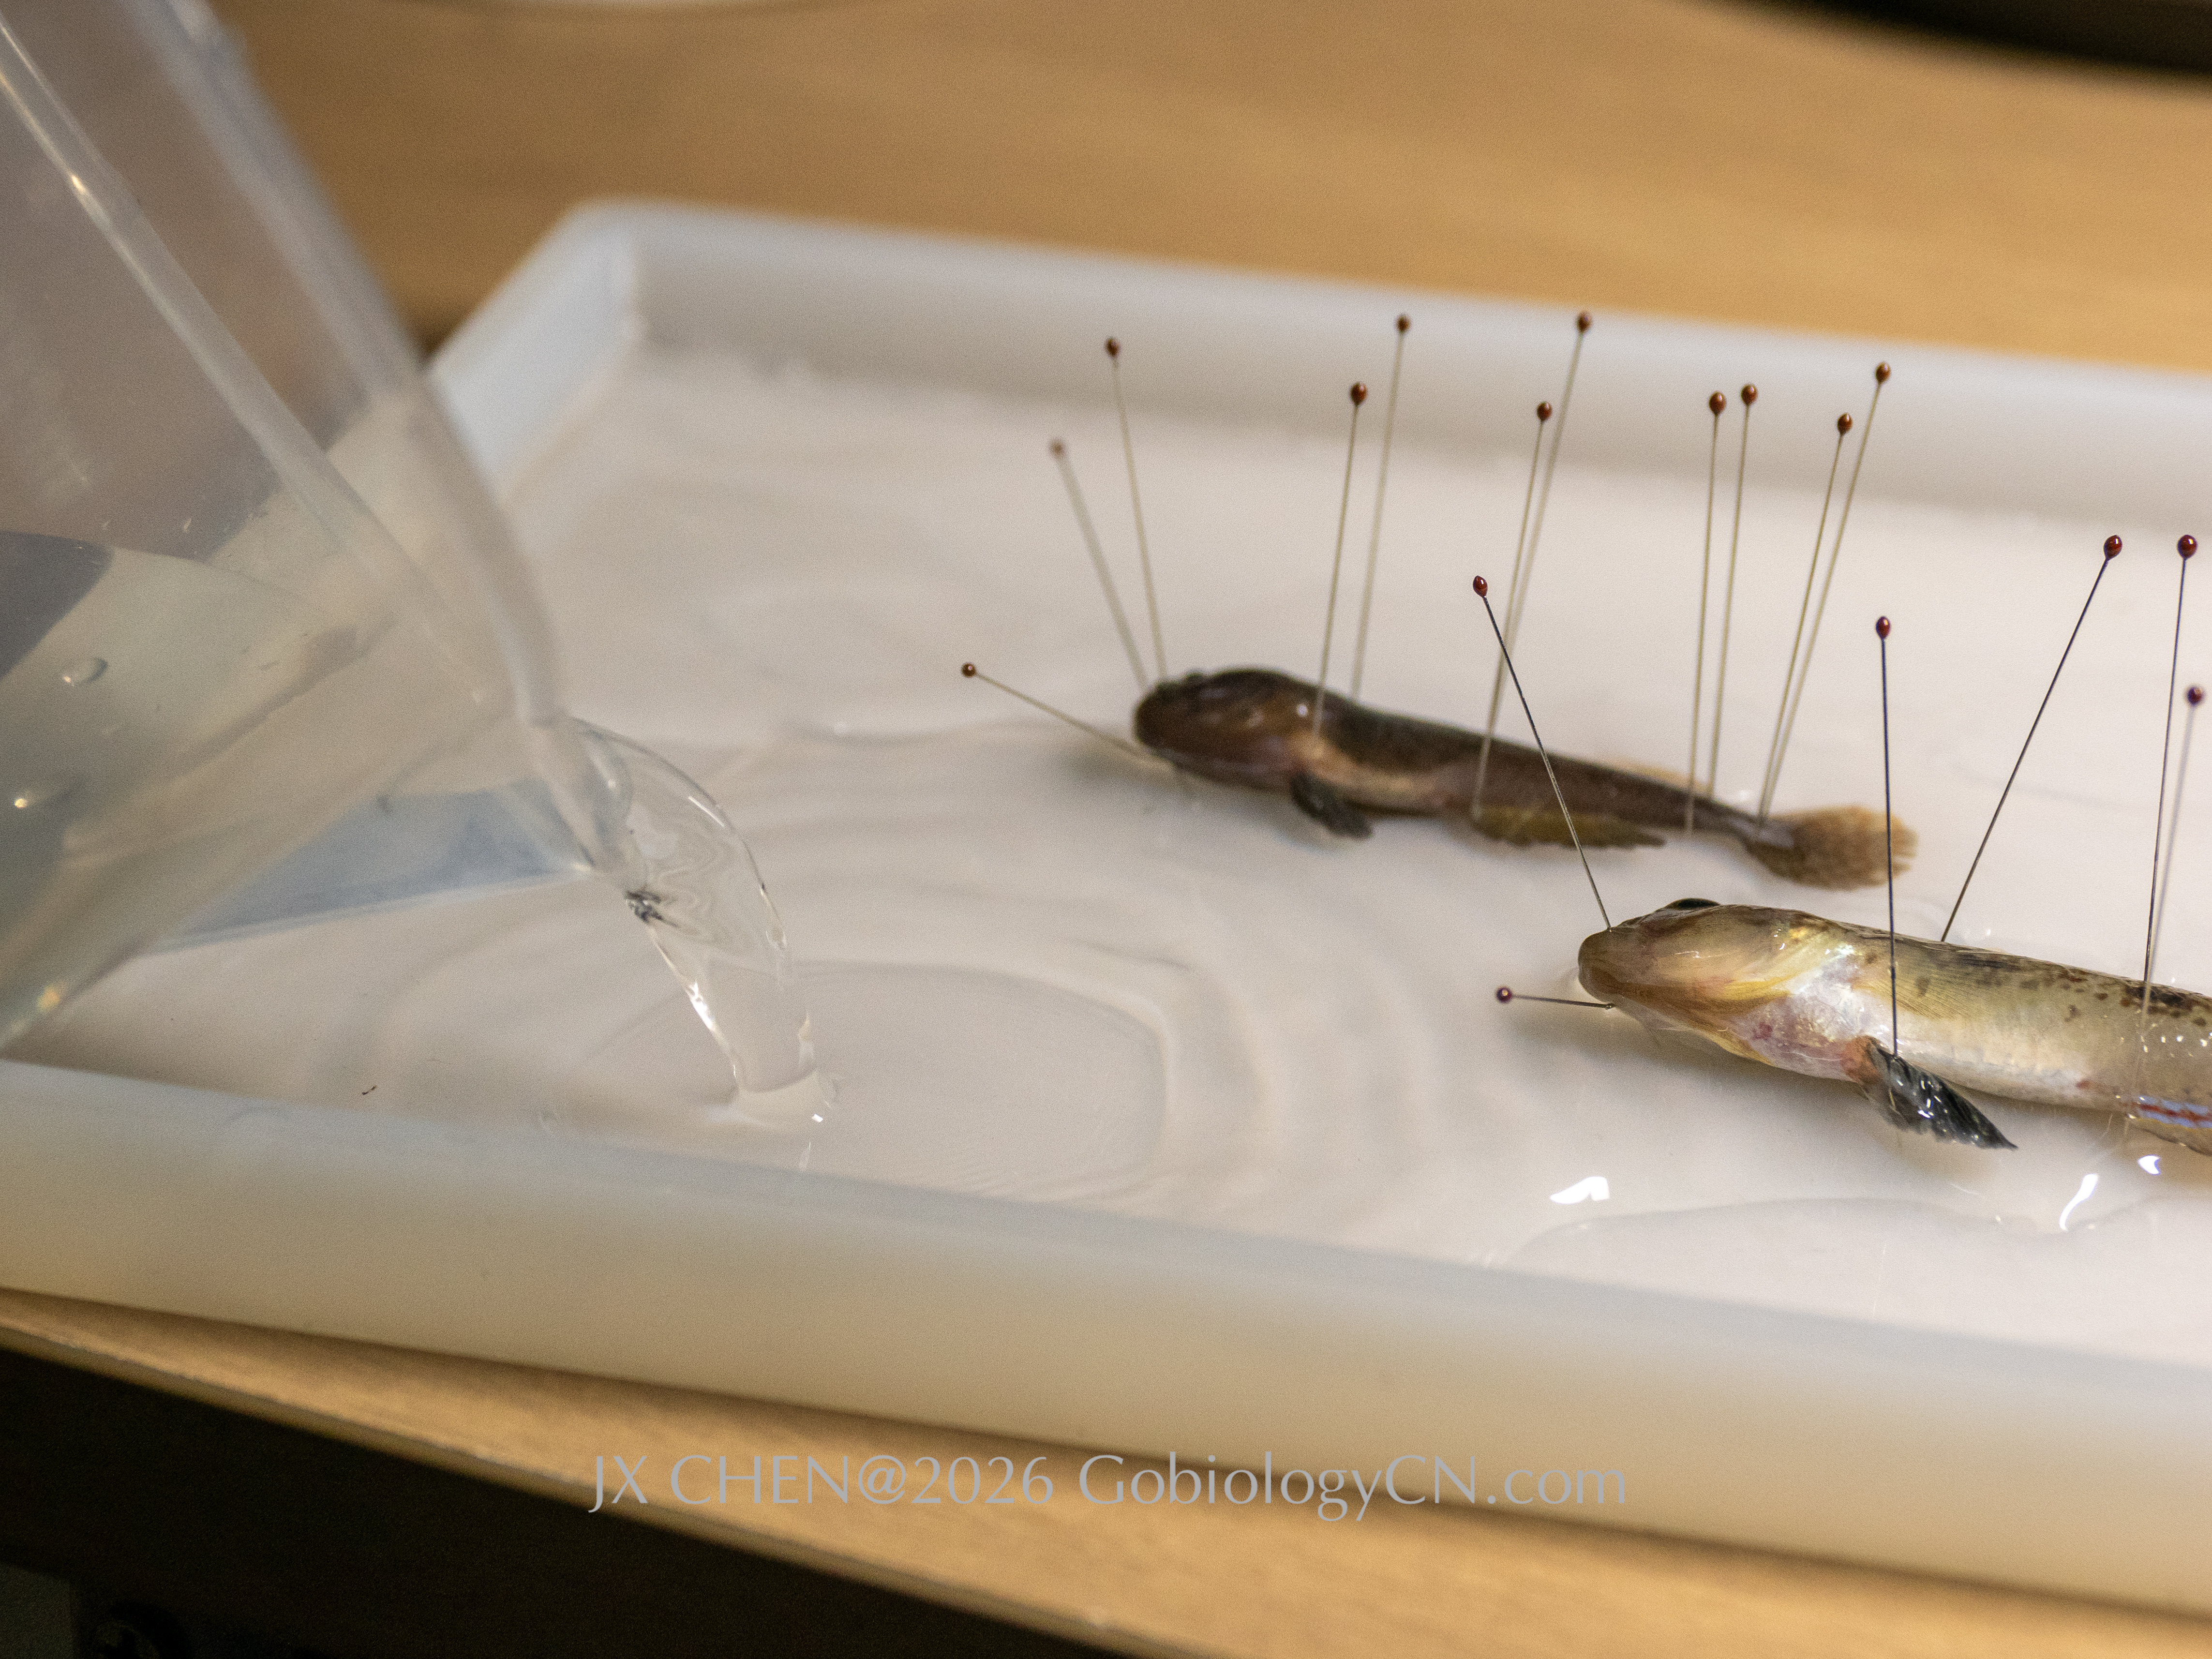
Small gobies require more controlled positioning than larger fishes. For small specimens, I place the fish inside a silicone casting mold, which is inexpensive and easy to obtain. This setup has several advantages: it holds water easily without leakage; it allows direct pinning of the specimen, and it provides fine control over body posture.
I always place the fish with its left side facing downward. Water is then added to approximately half of the body width, just enough to reach the base of the unpaired fins. Pinning is done carefully and in a specific order: Start from the caudal peduncle, using pins to stabilize the tail region; Add a pin at the mouth to fix the head position.
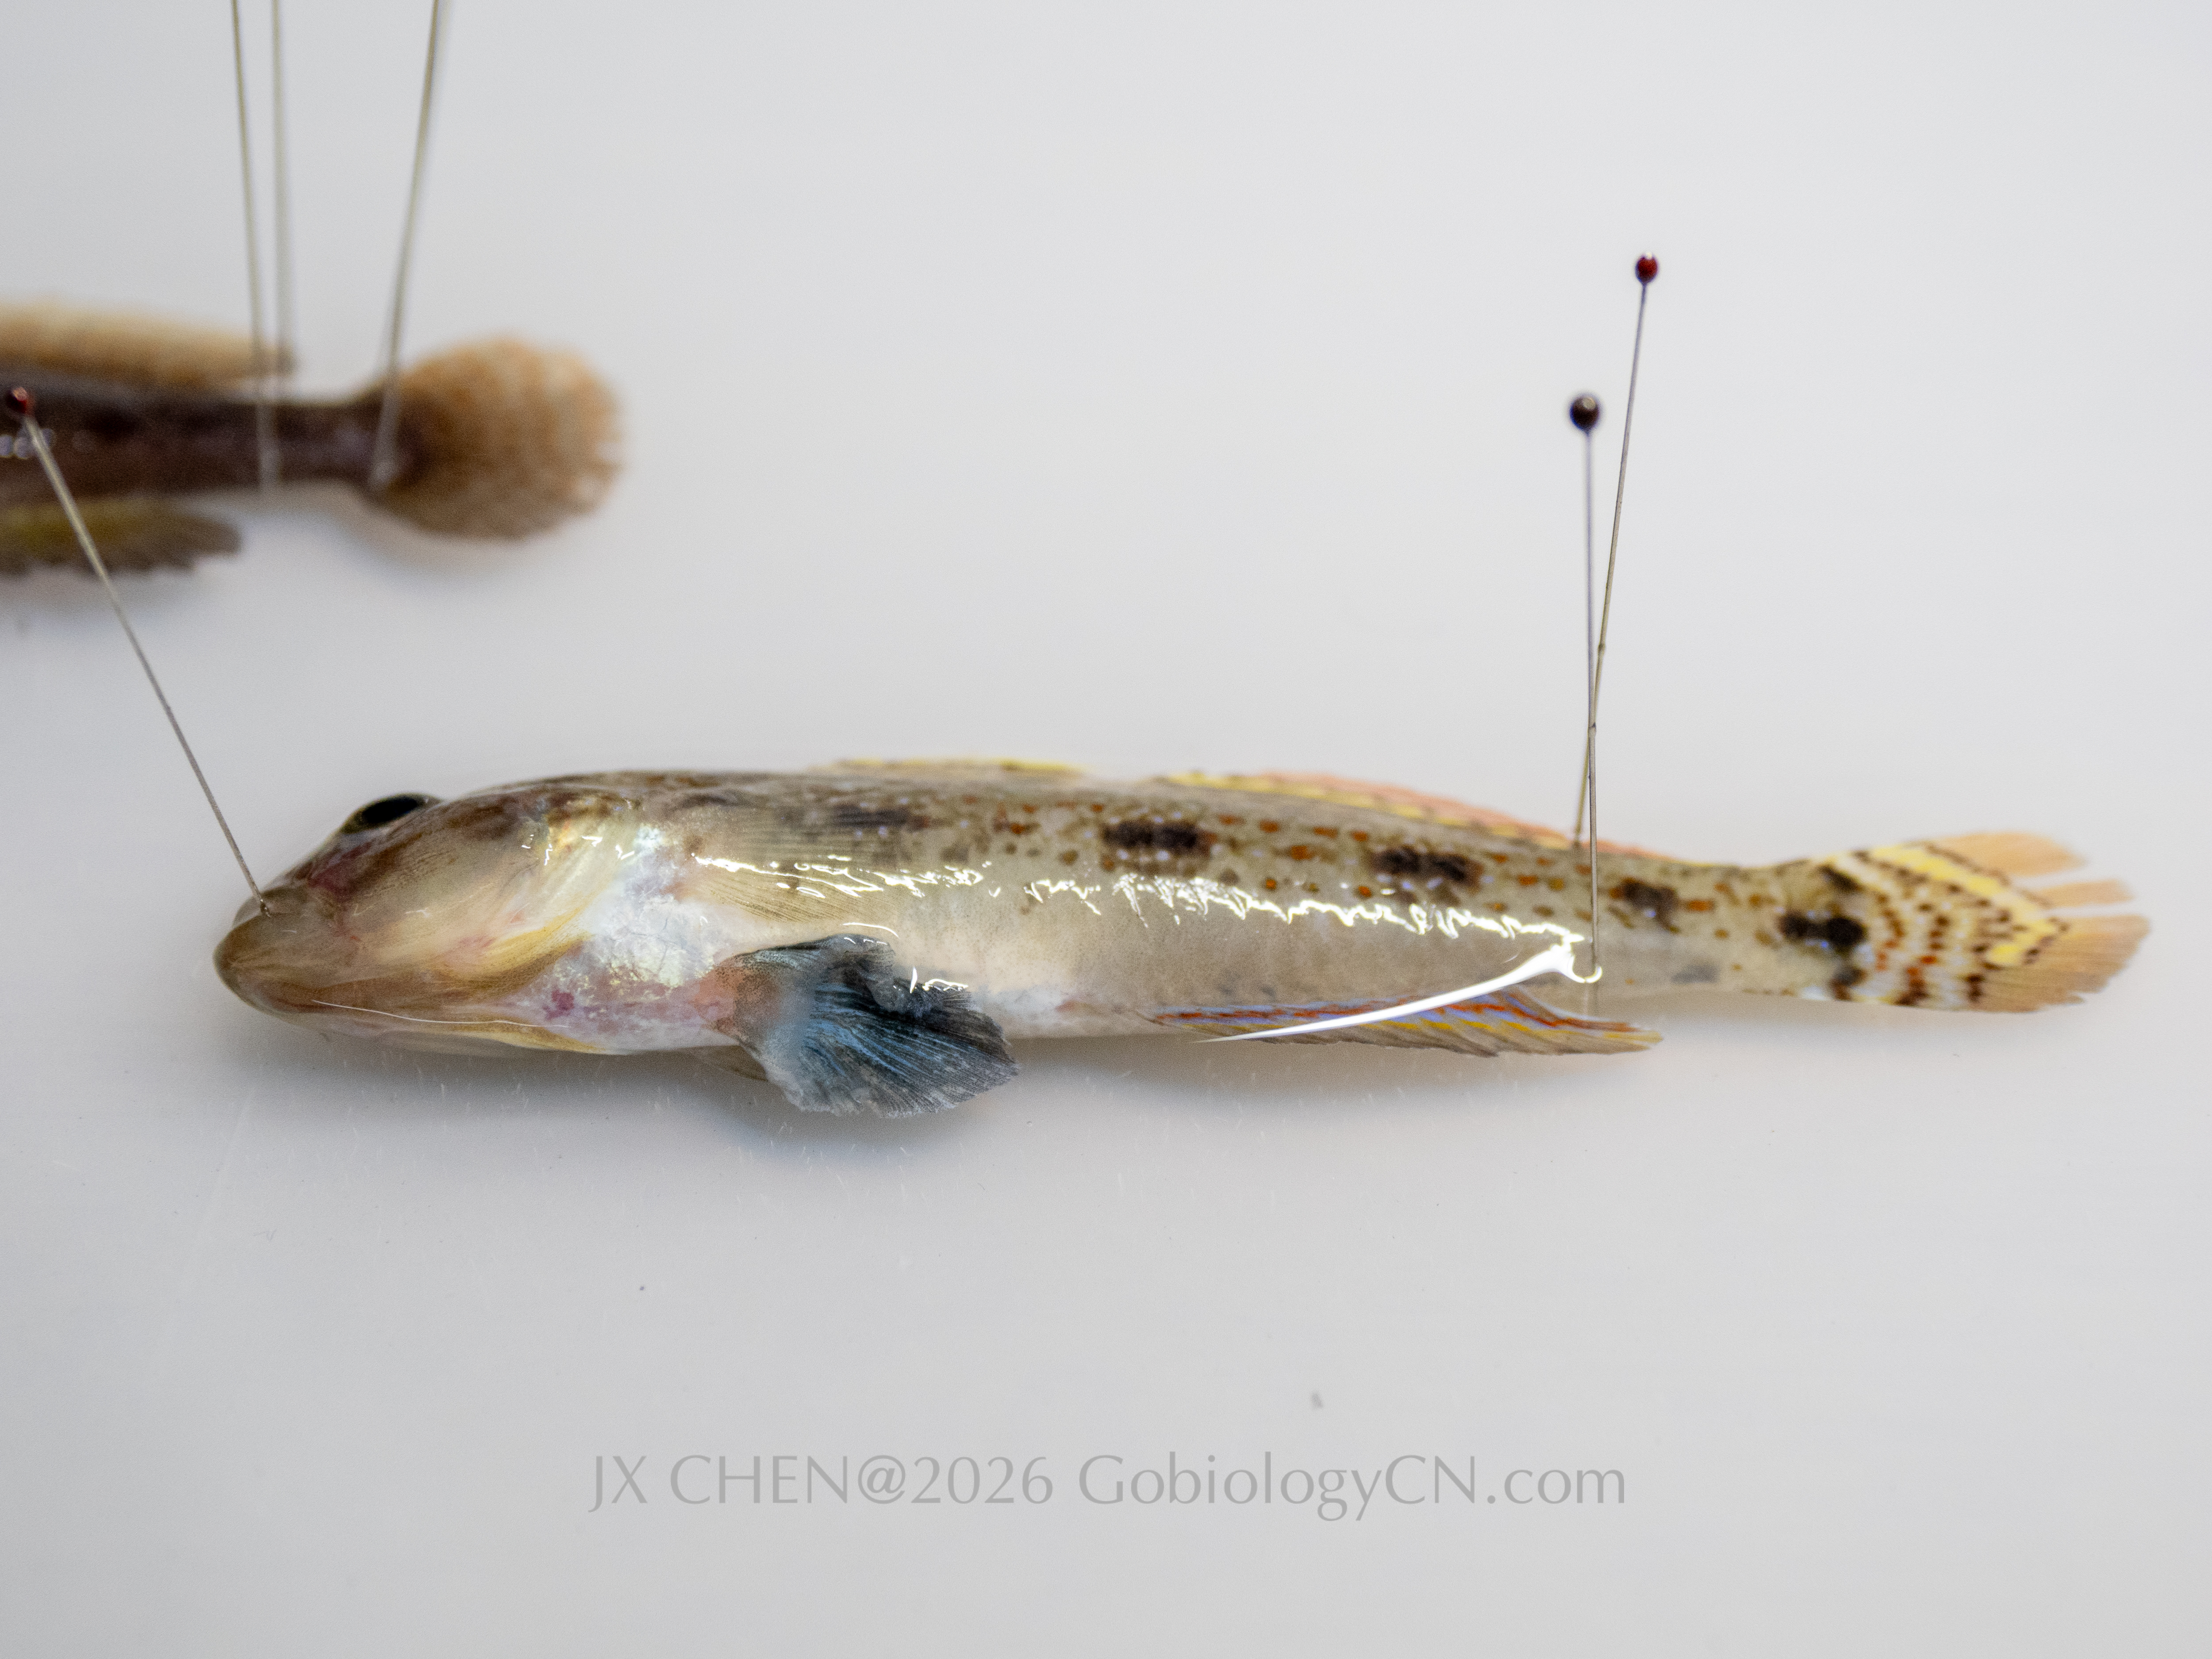
Apply 2 pins to stabilize the caudal peduncle; Add a pin at the mouth to fix the head position.
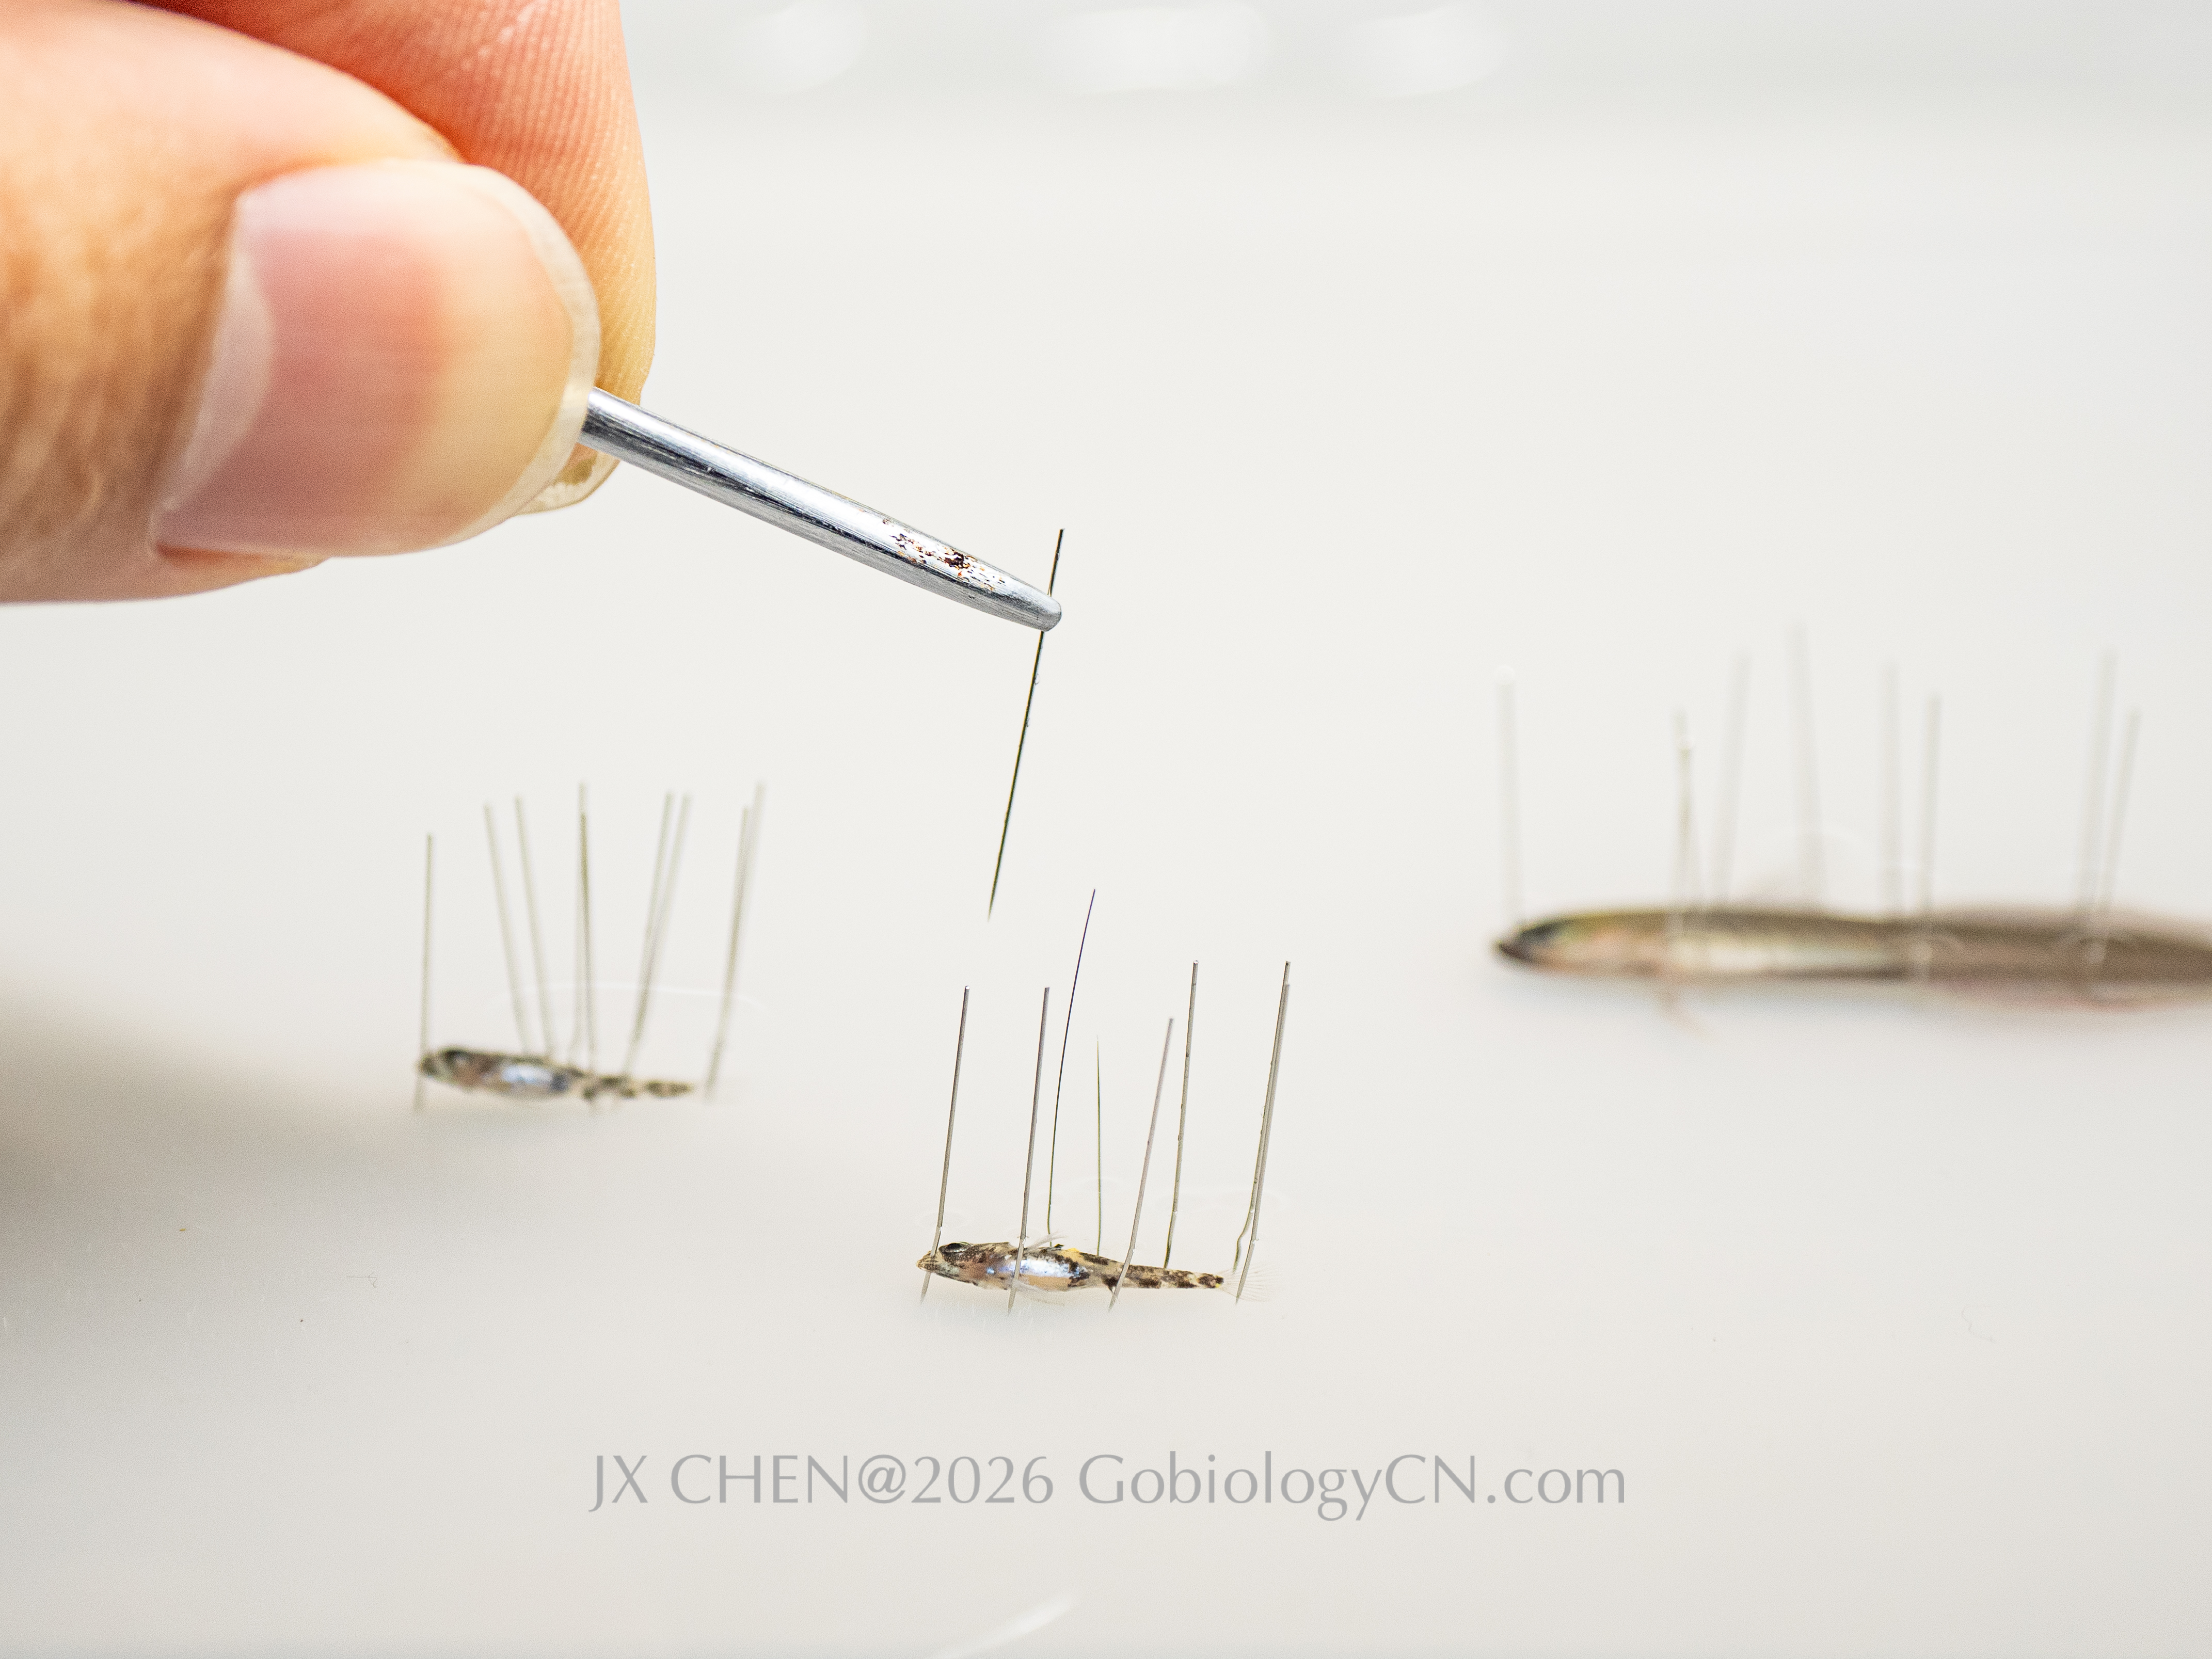
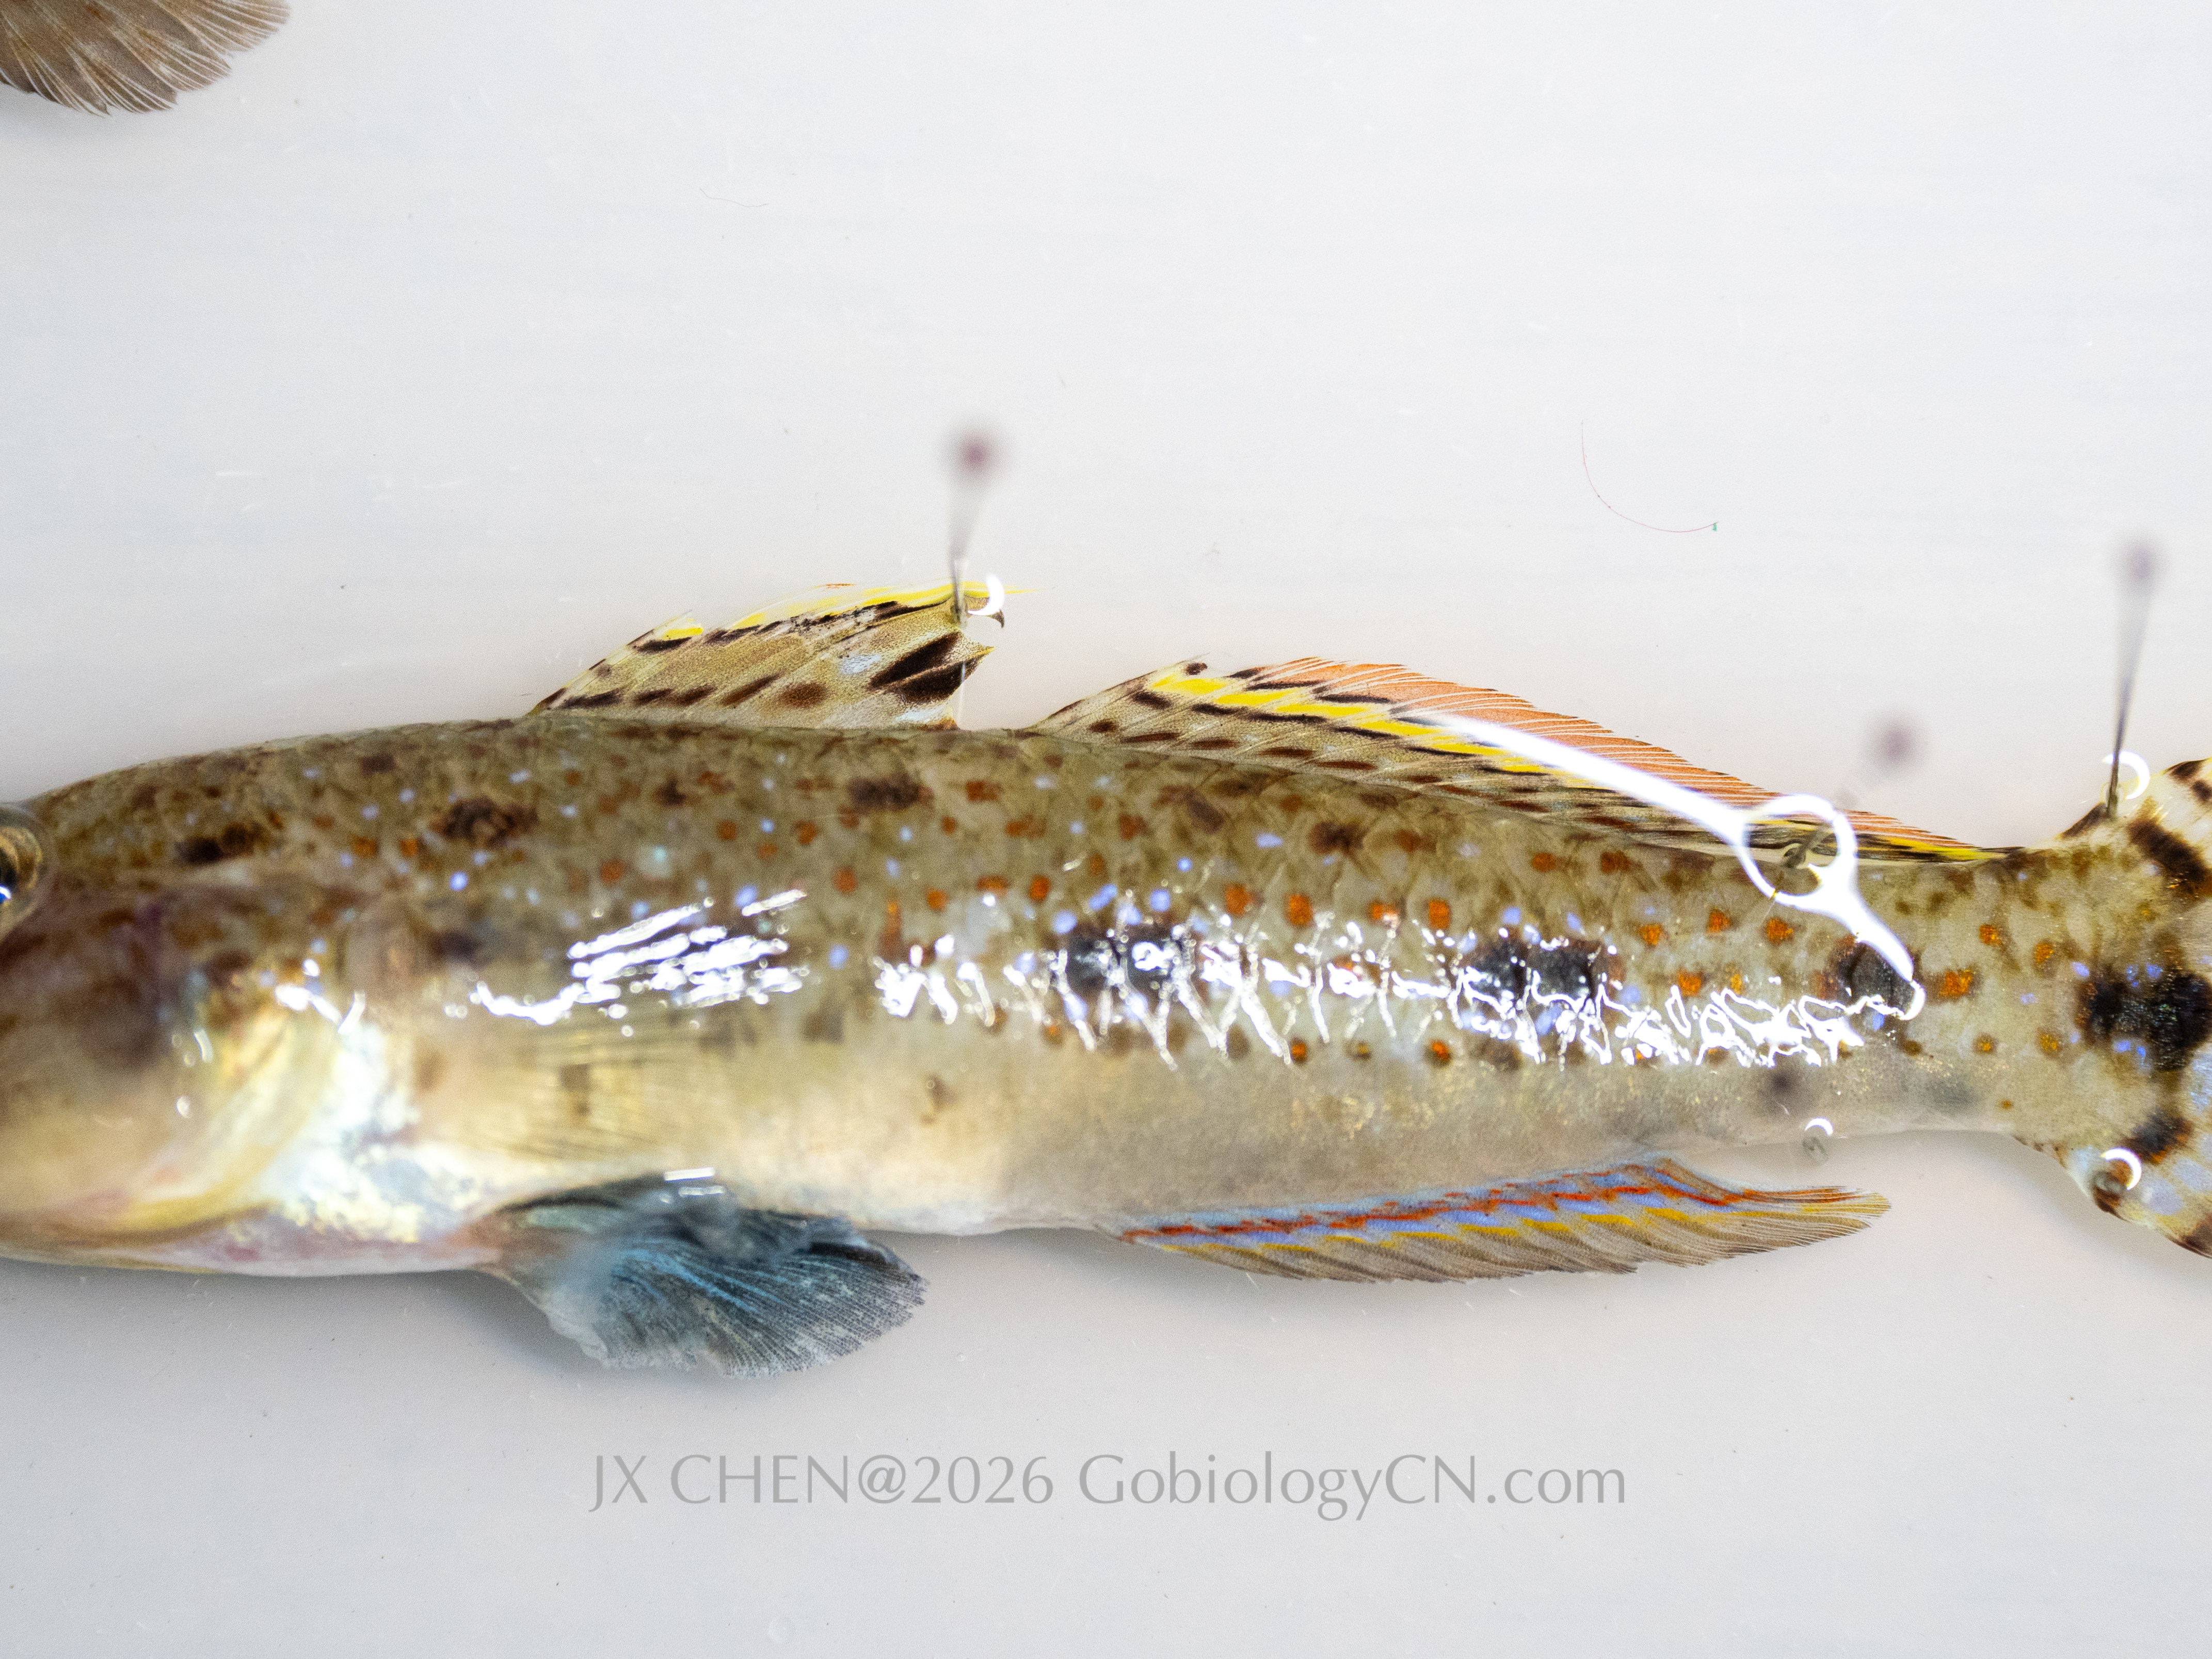
Fin spreading is performed in the following order: Caudal fin, then second dorsal fin, in species where the first dorsal fin overlaps or reaches the second dorsal, gently lift the first dorsal fin before spreading the second to allow full extension. Then anal fin. Then first dorsal fin and pelvic fin. The pectoral fins are not essential for display in most gobies; it is usually sufficient to ensure that they are not compressed or distorted.
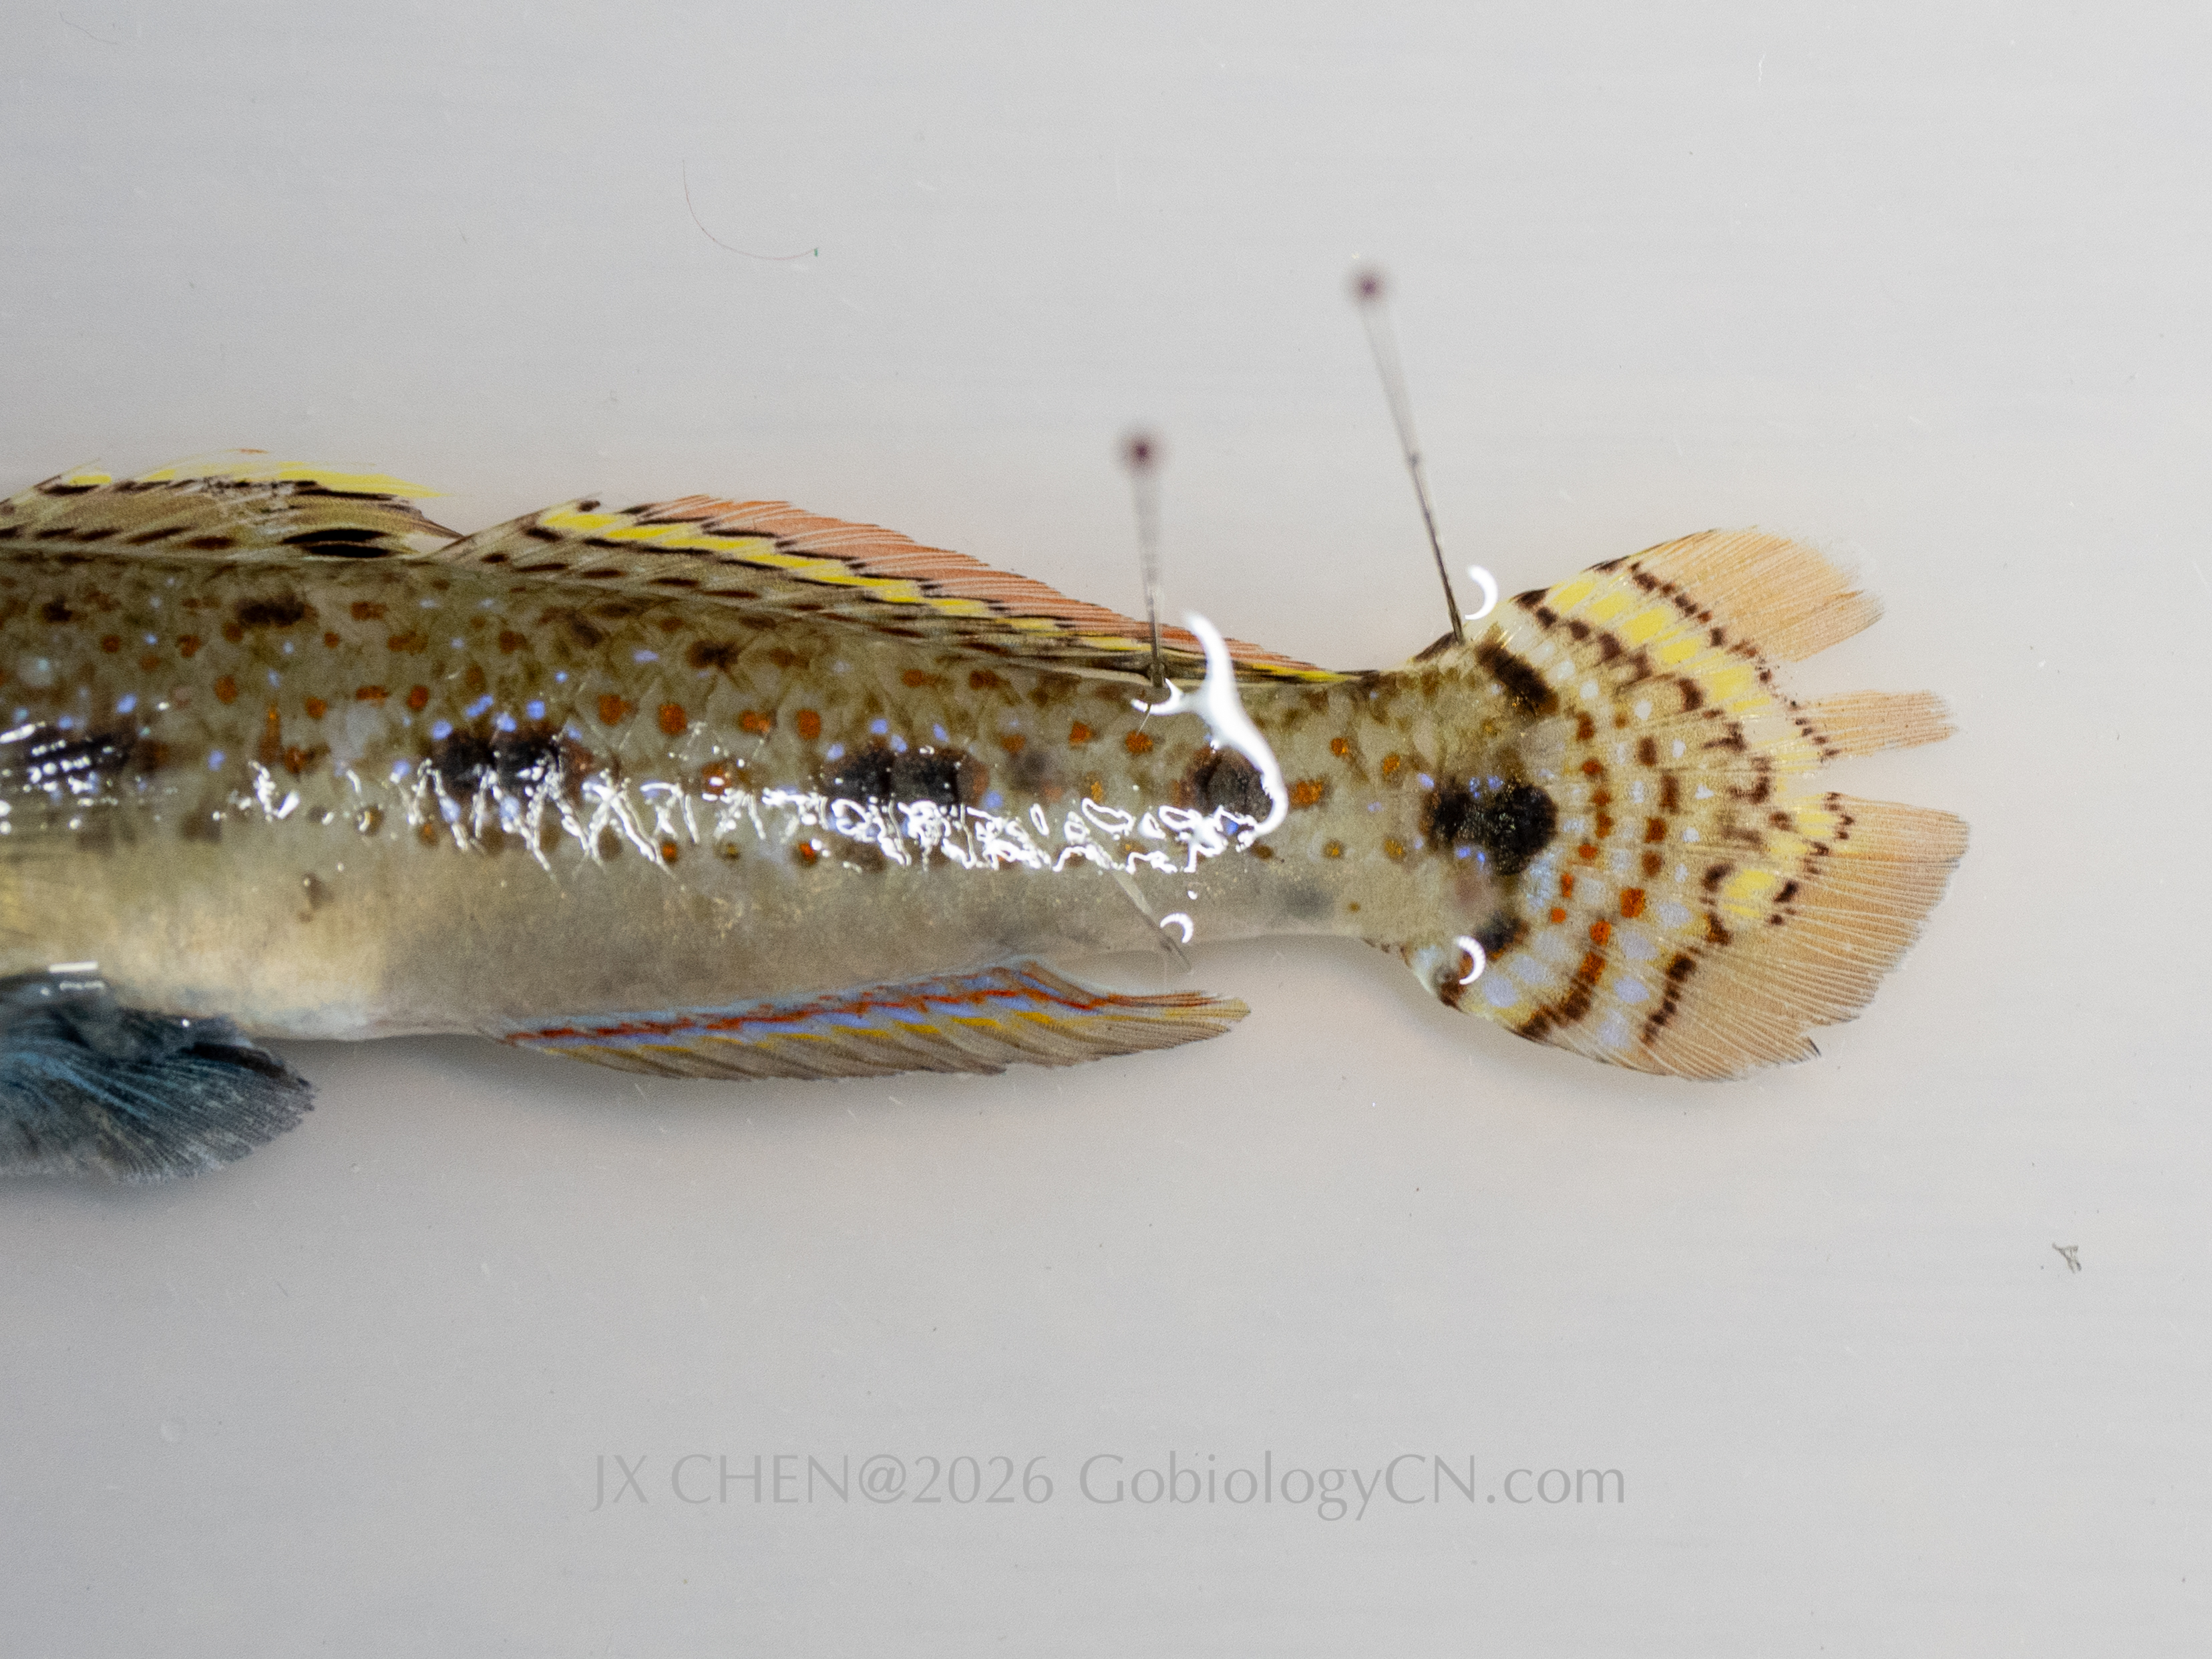
Spread caudal fin first.
Lift the first dorsal fin before spreading the second.
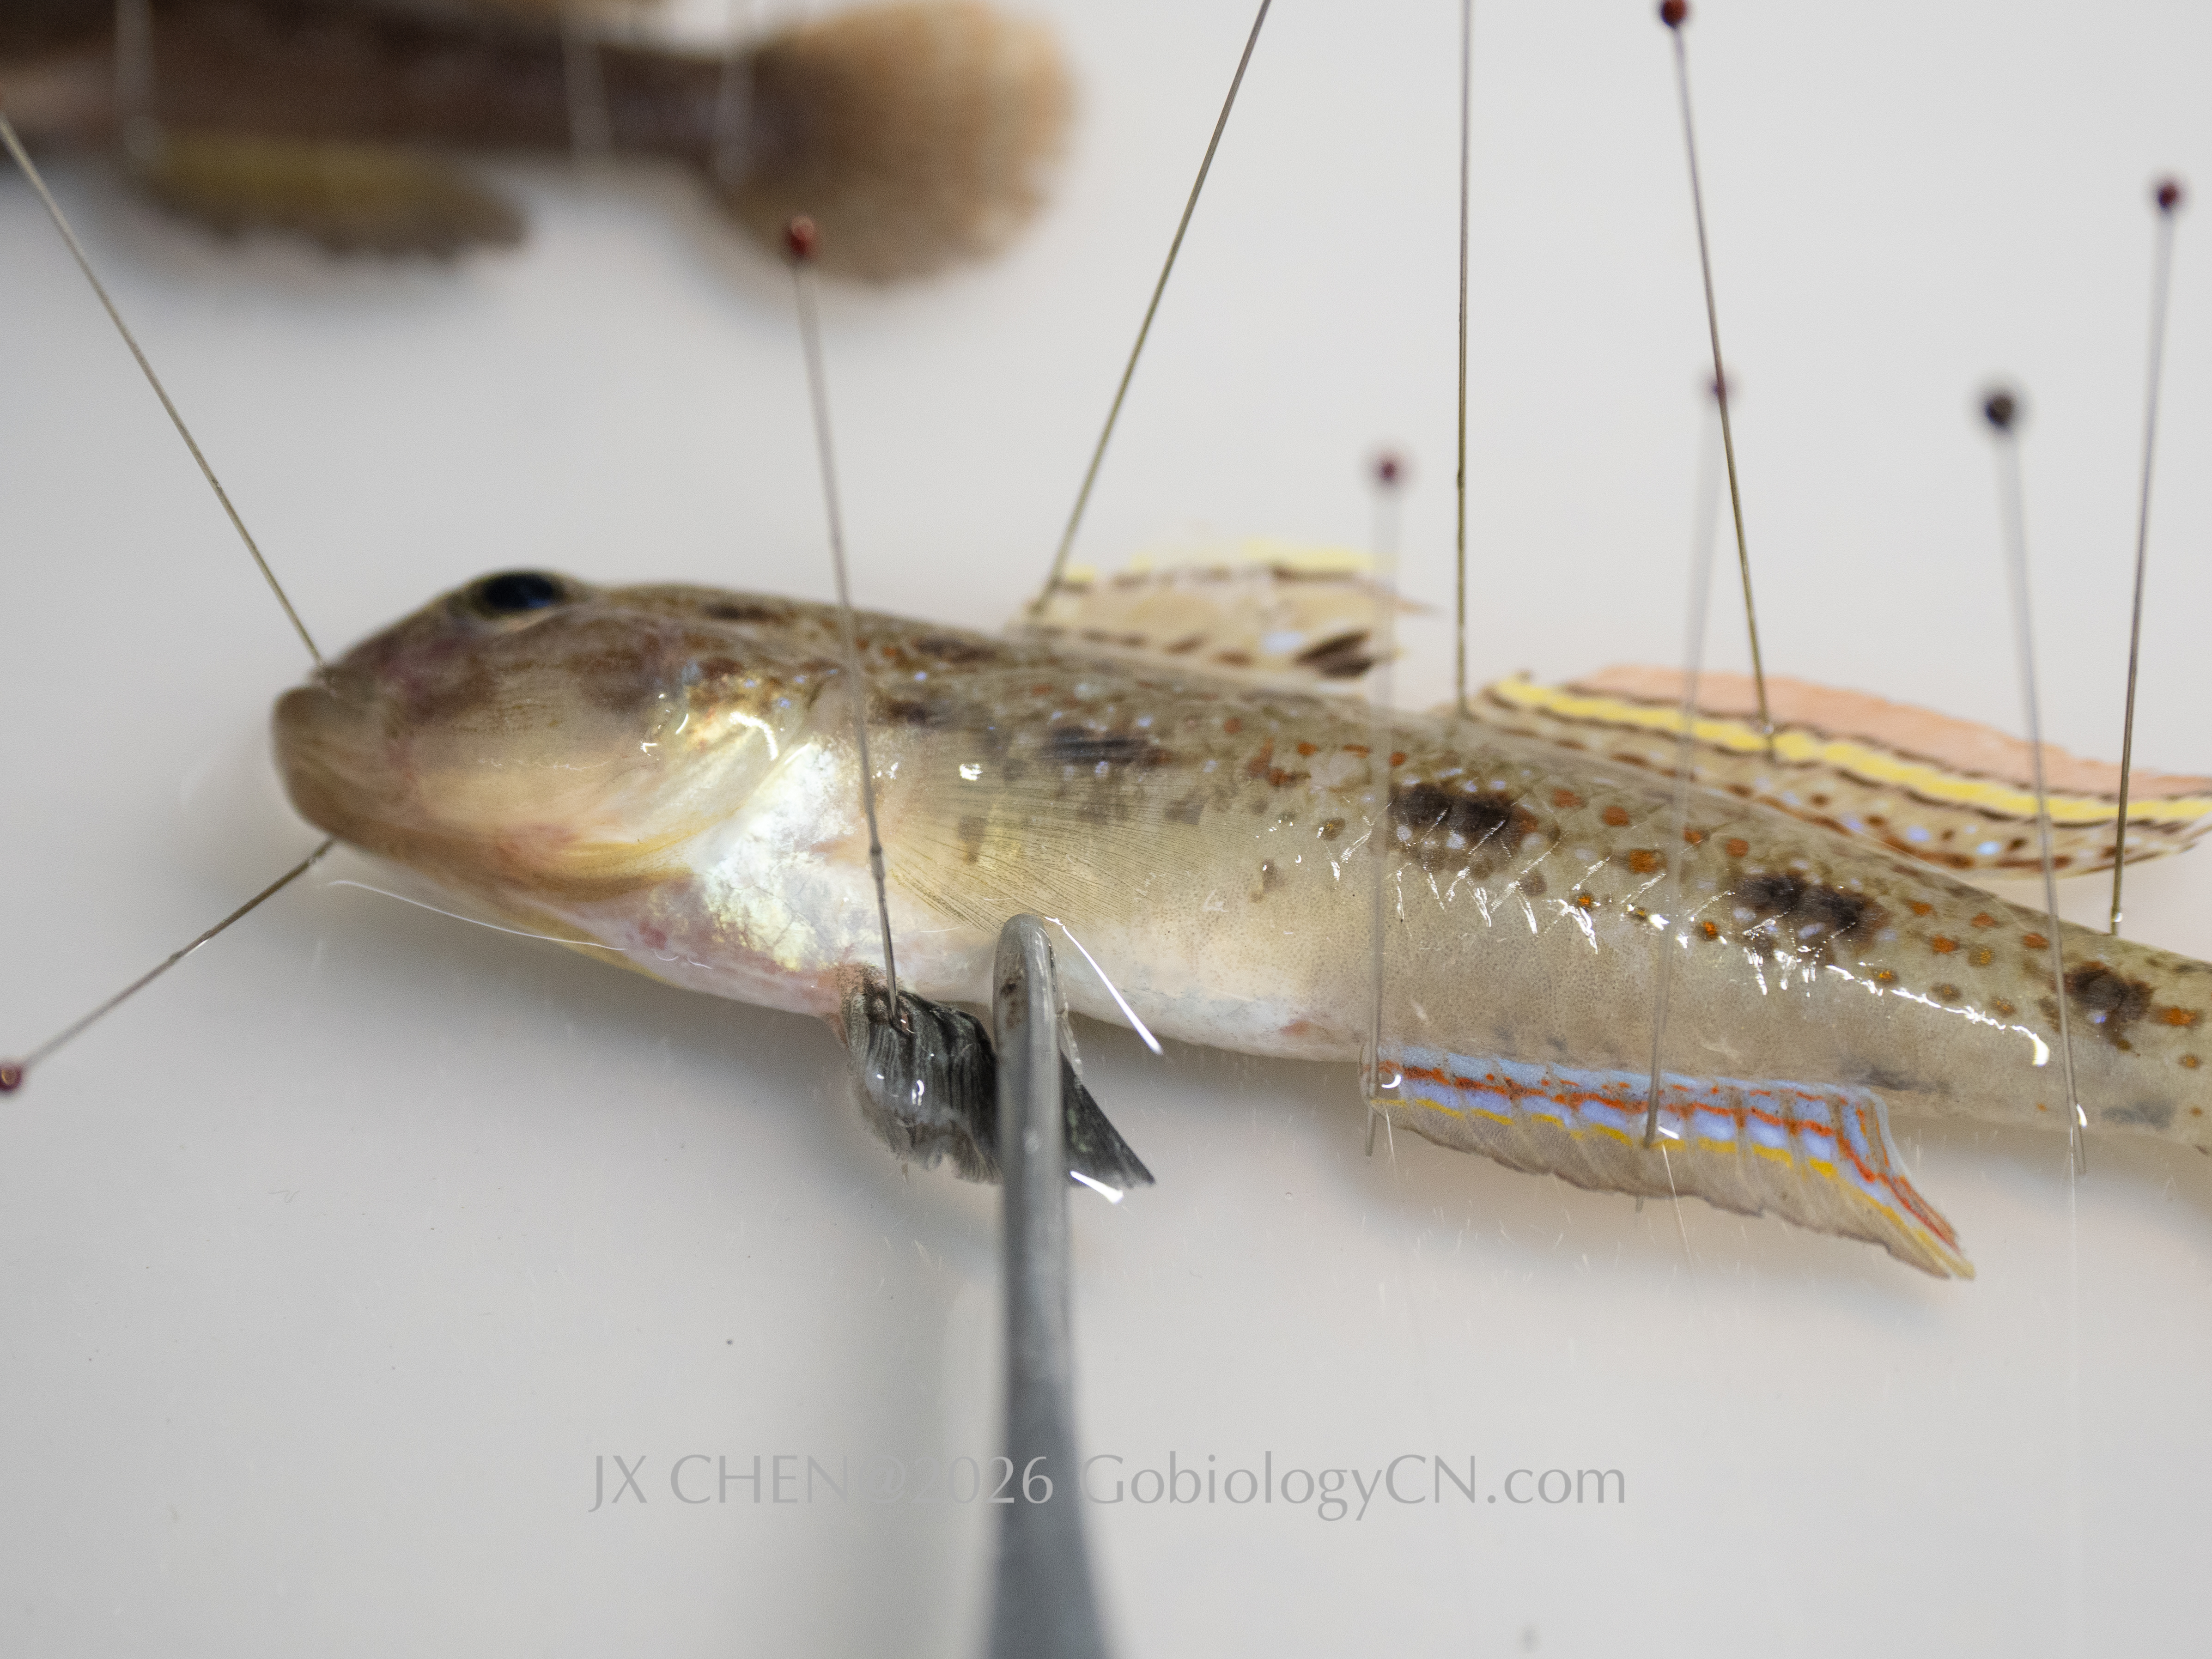
Ensure that pectoral fin is not compressed.
This process may take some time. To prevent the specimen from drying during fin spreading, gently apply small amounts of water to the body as needed.

Apply small amounts of water to prevent the specimen from drying.
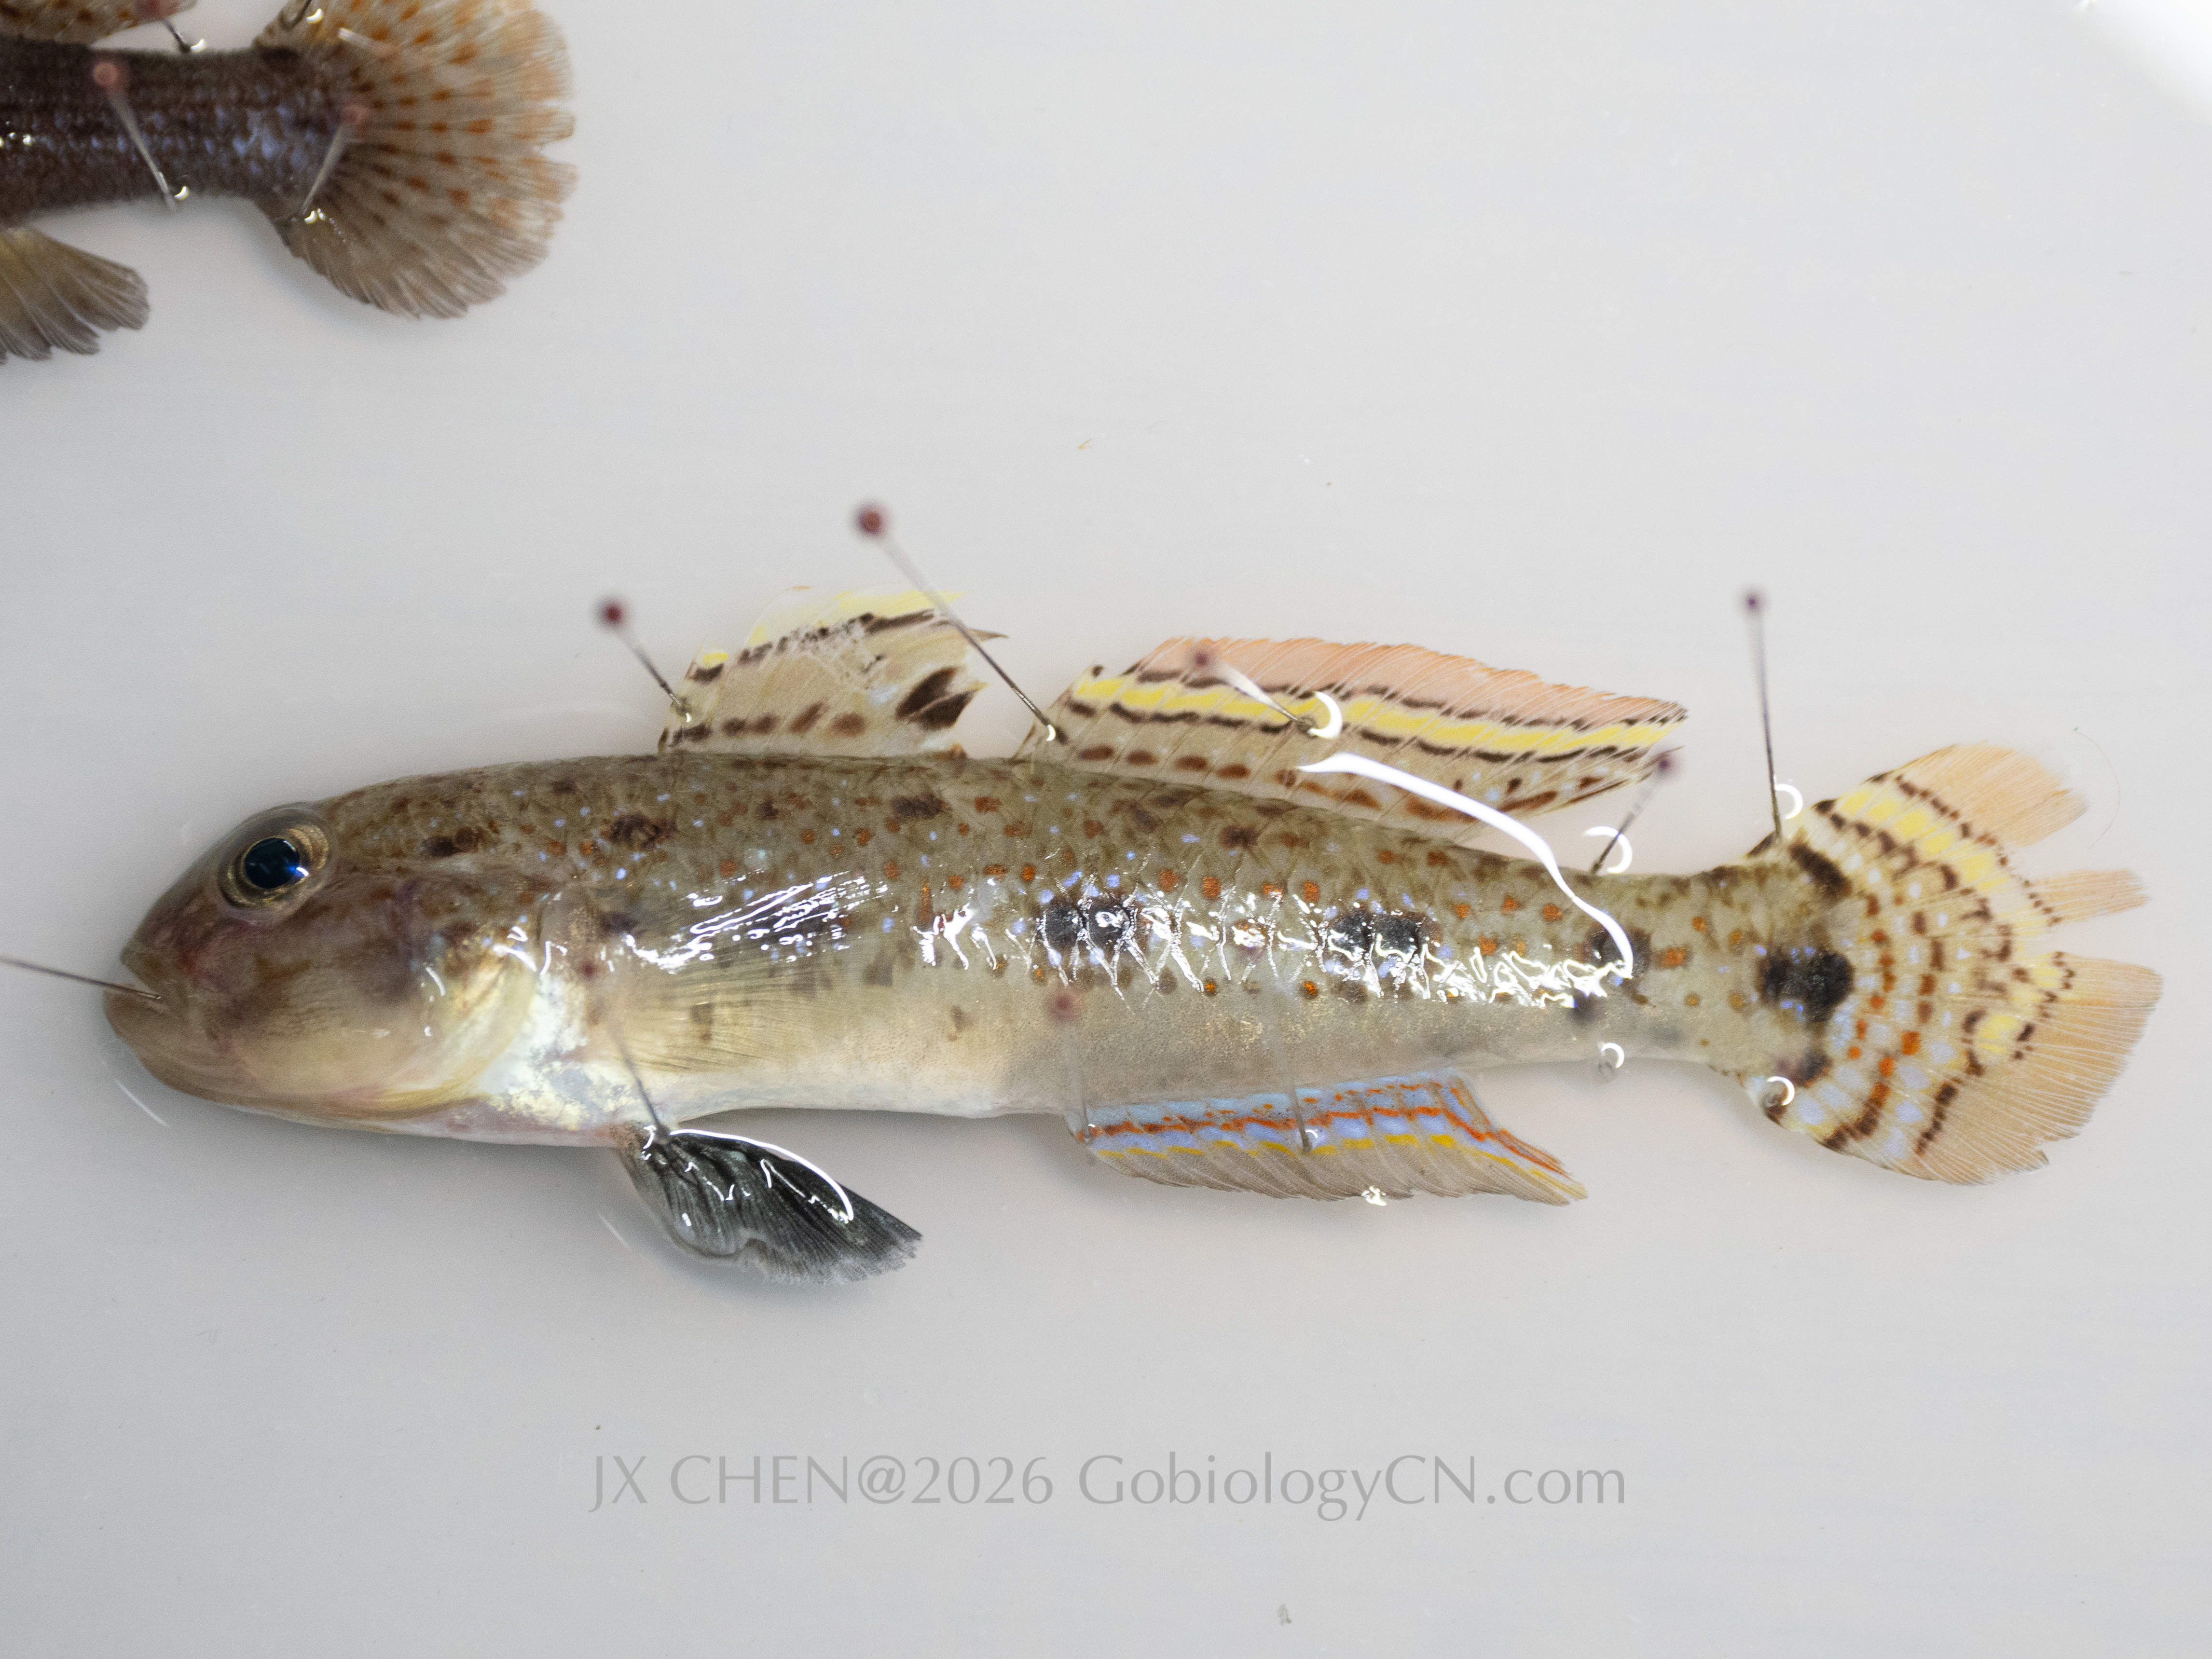
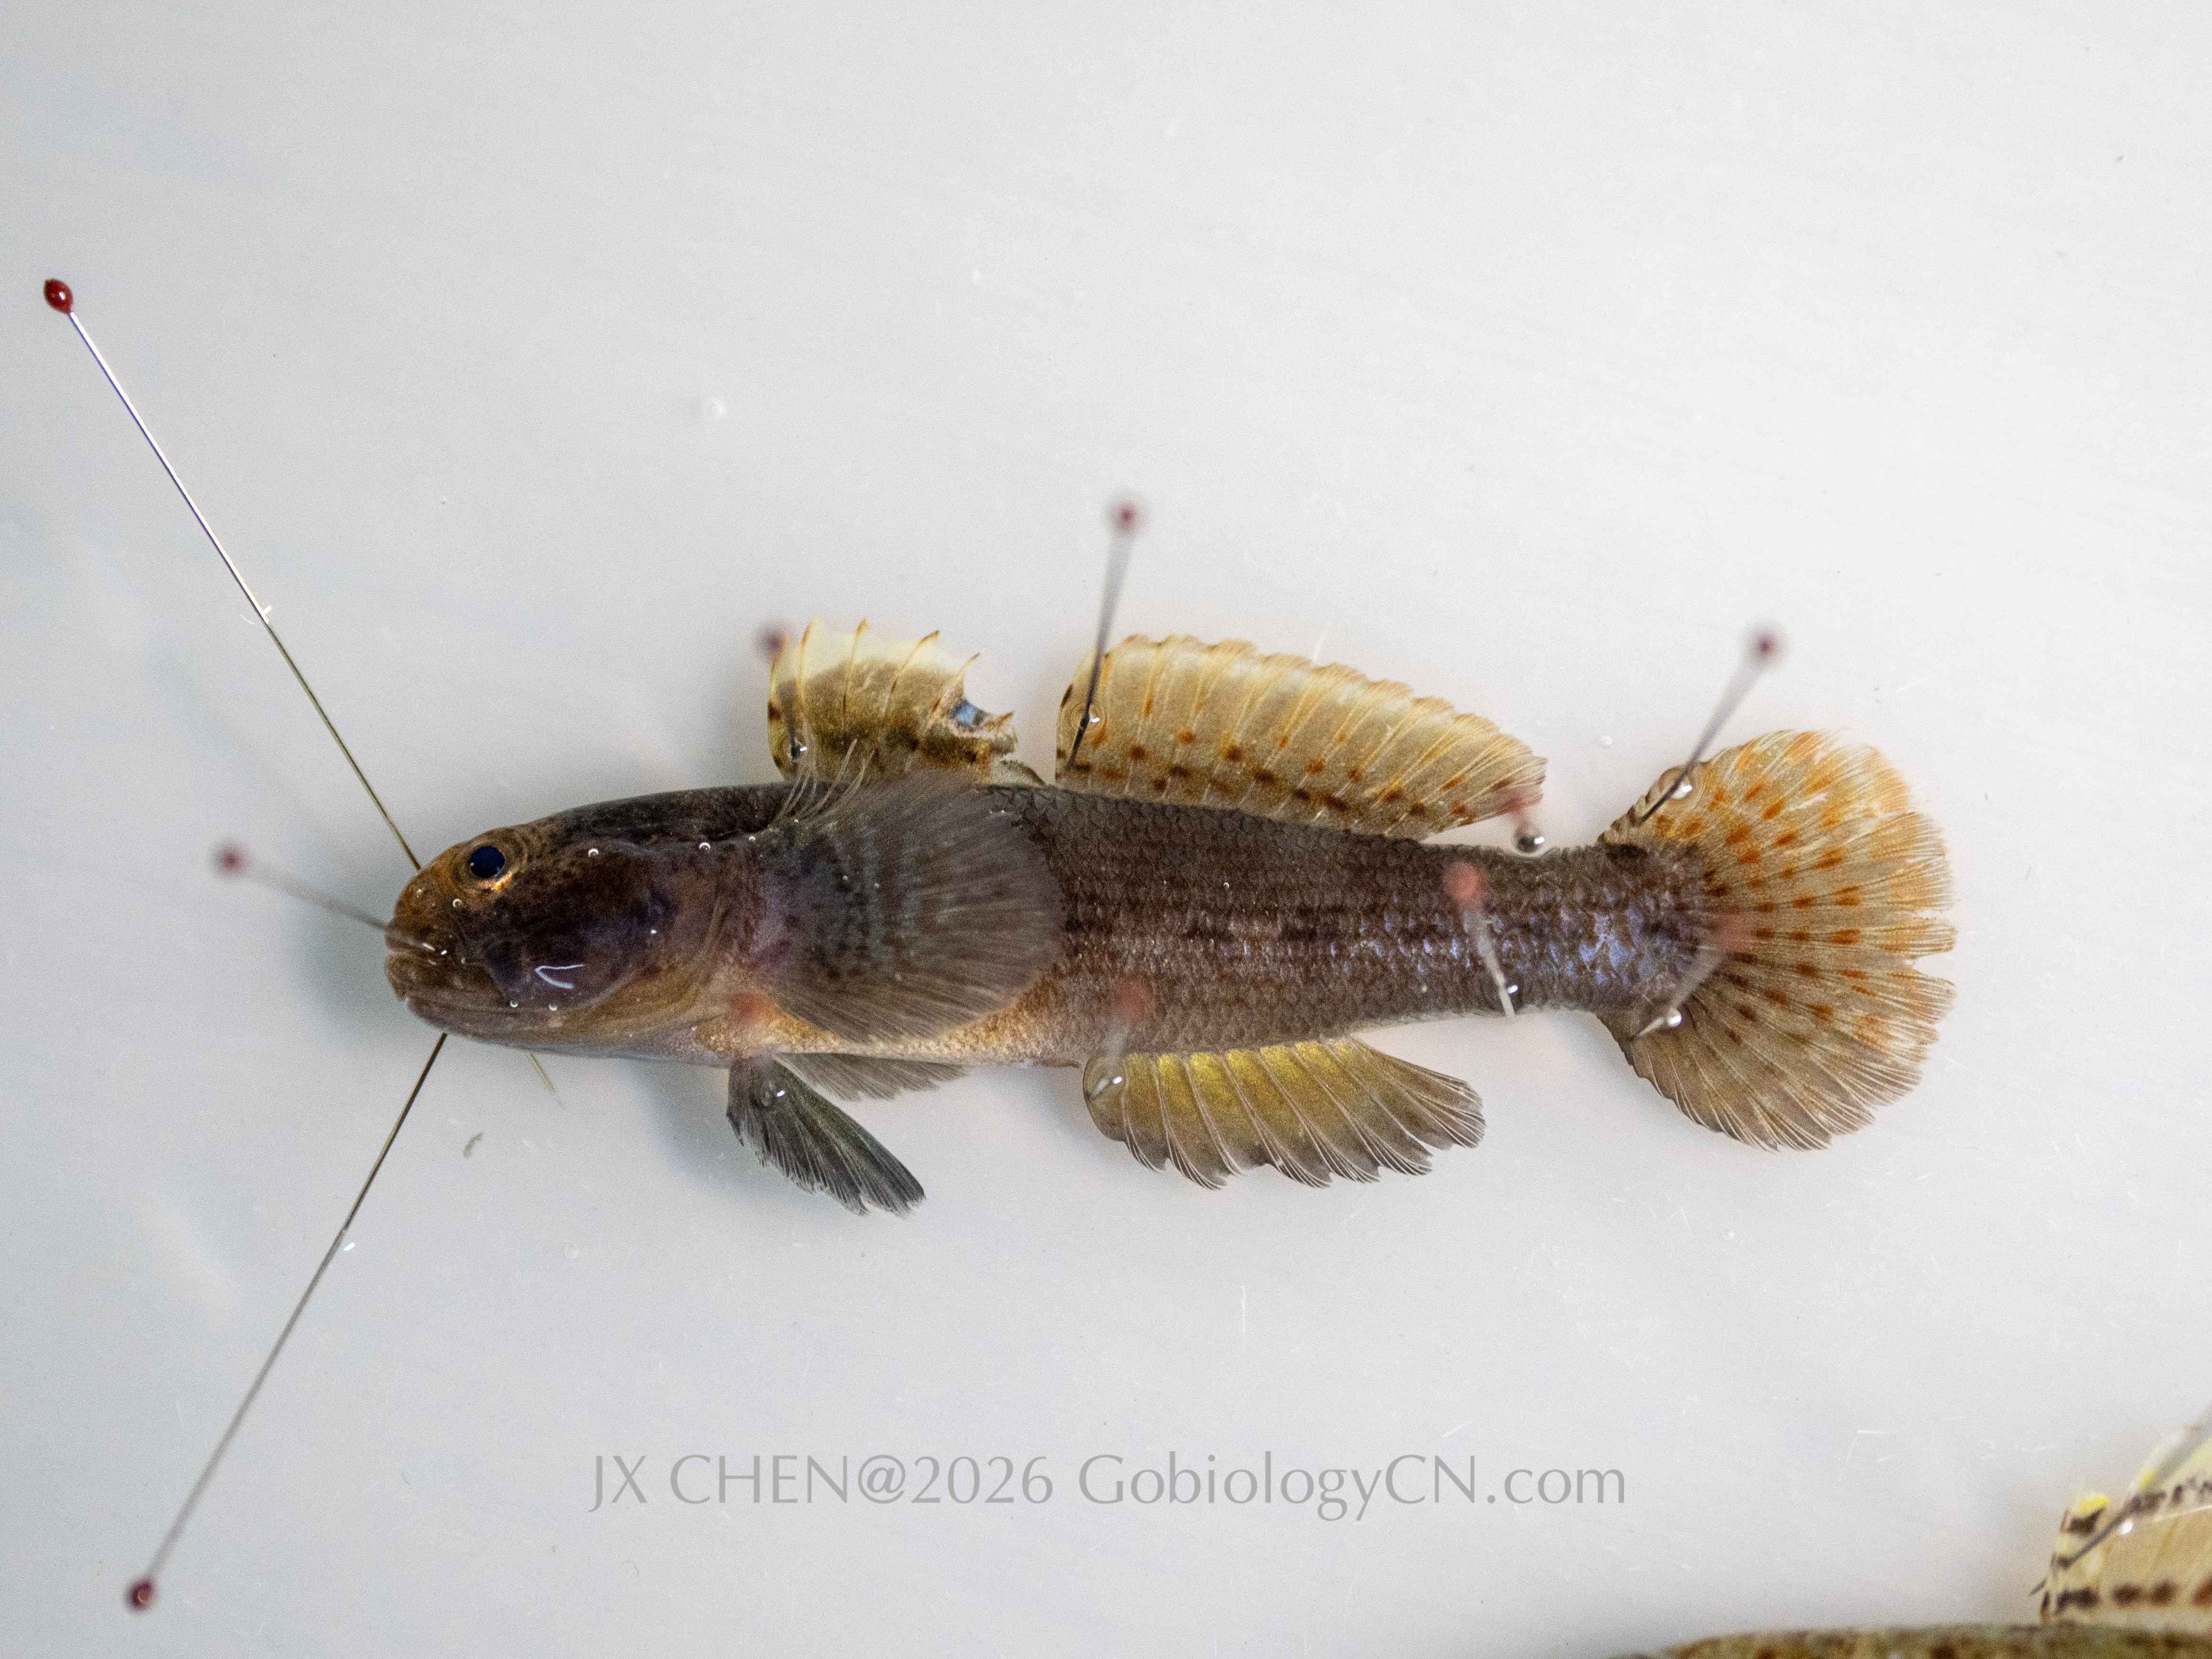
How it looks like when finished above.
Use additional pins to slightly lift the head, preventing it from tilting to the right (a very common problem). Maintaining head symmetry is particularly important in gobies, as even slight distortion can affect both photographs and later morphological examination.
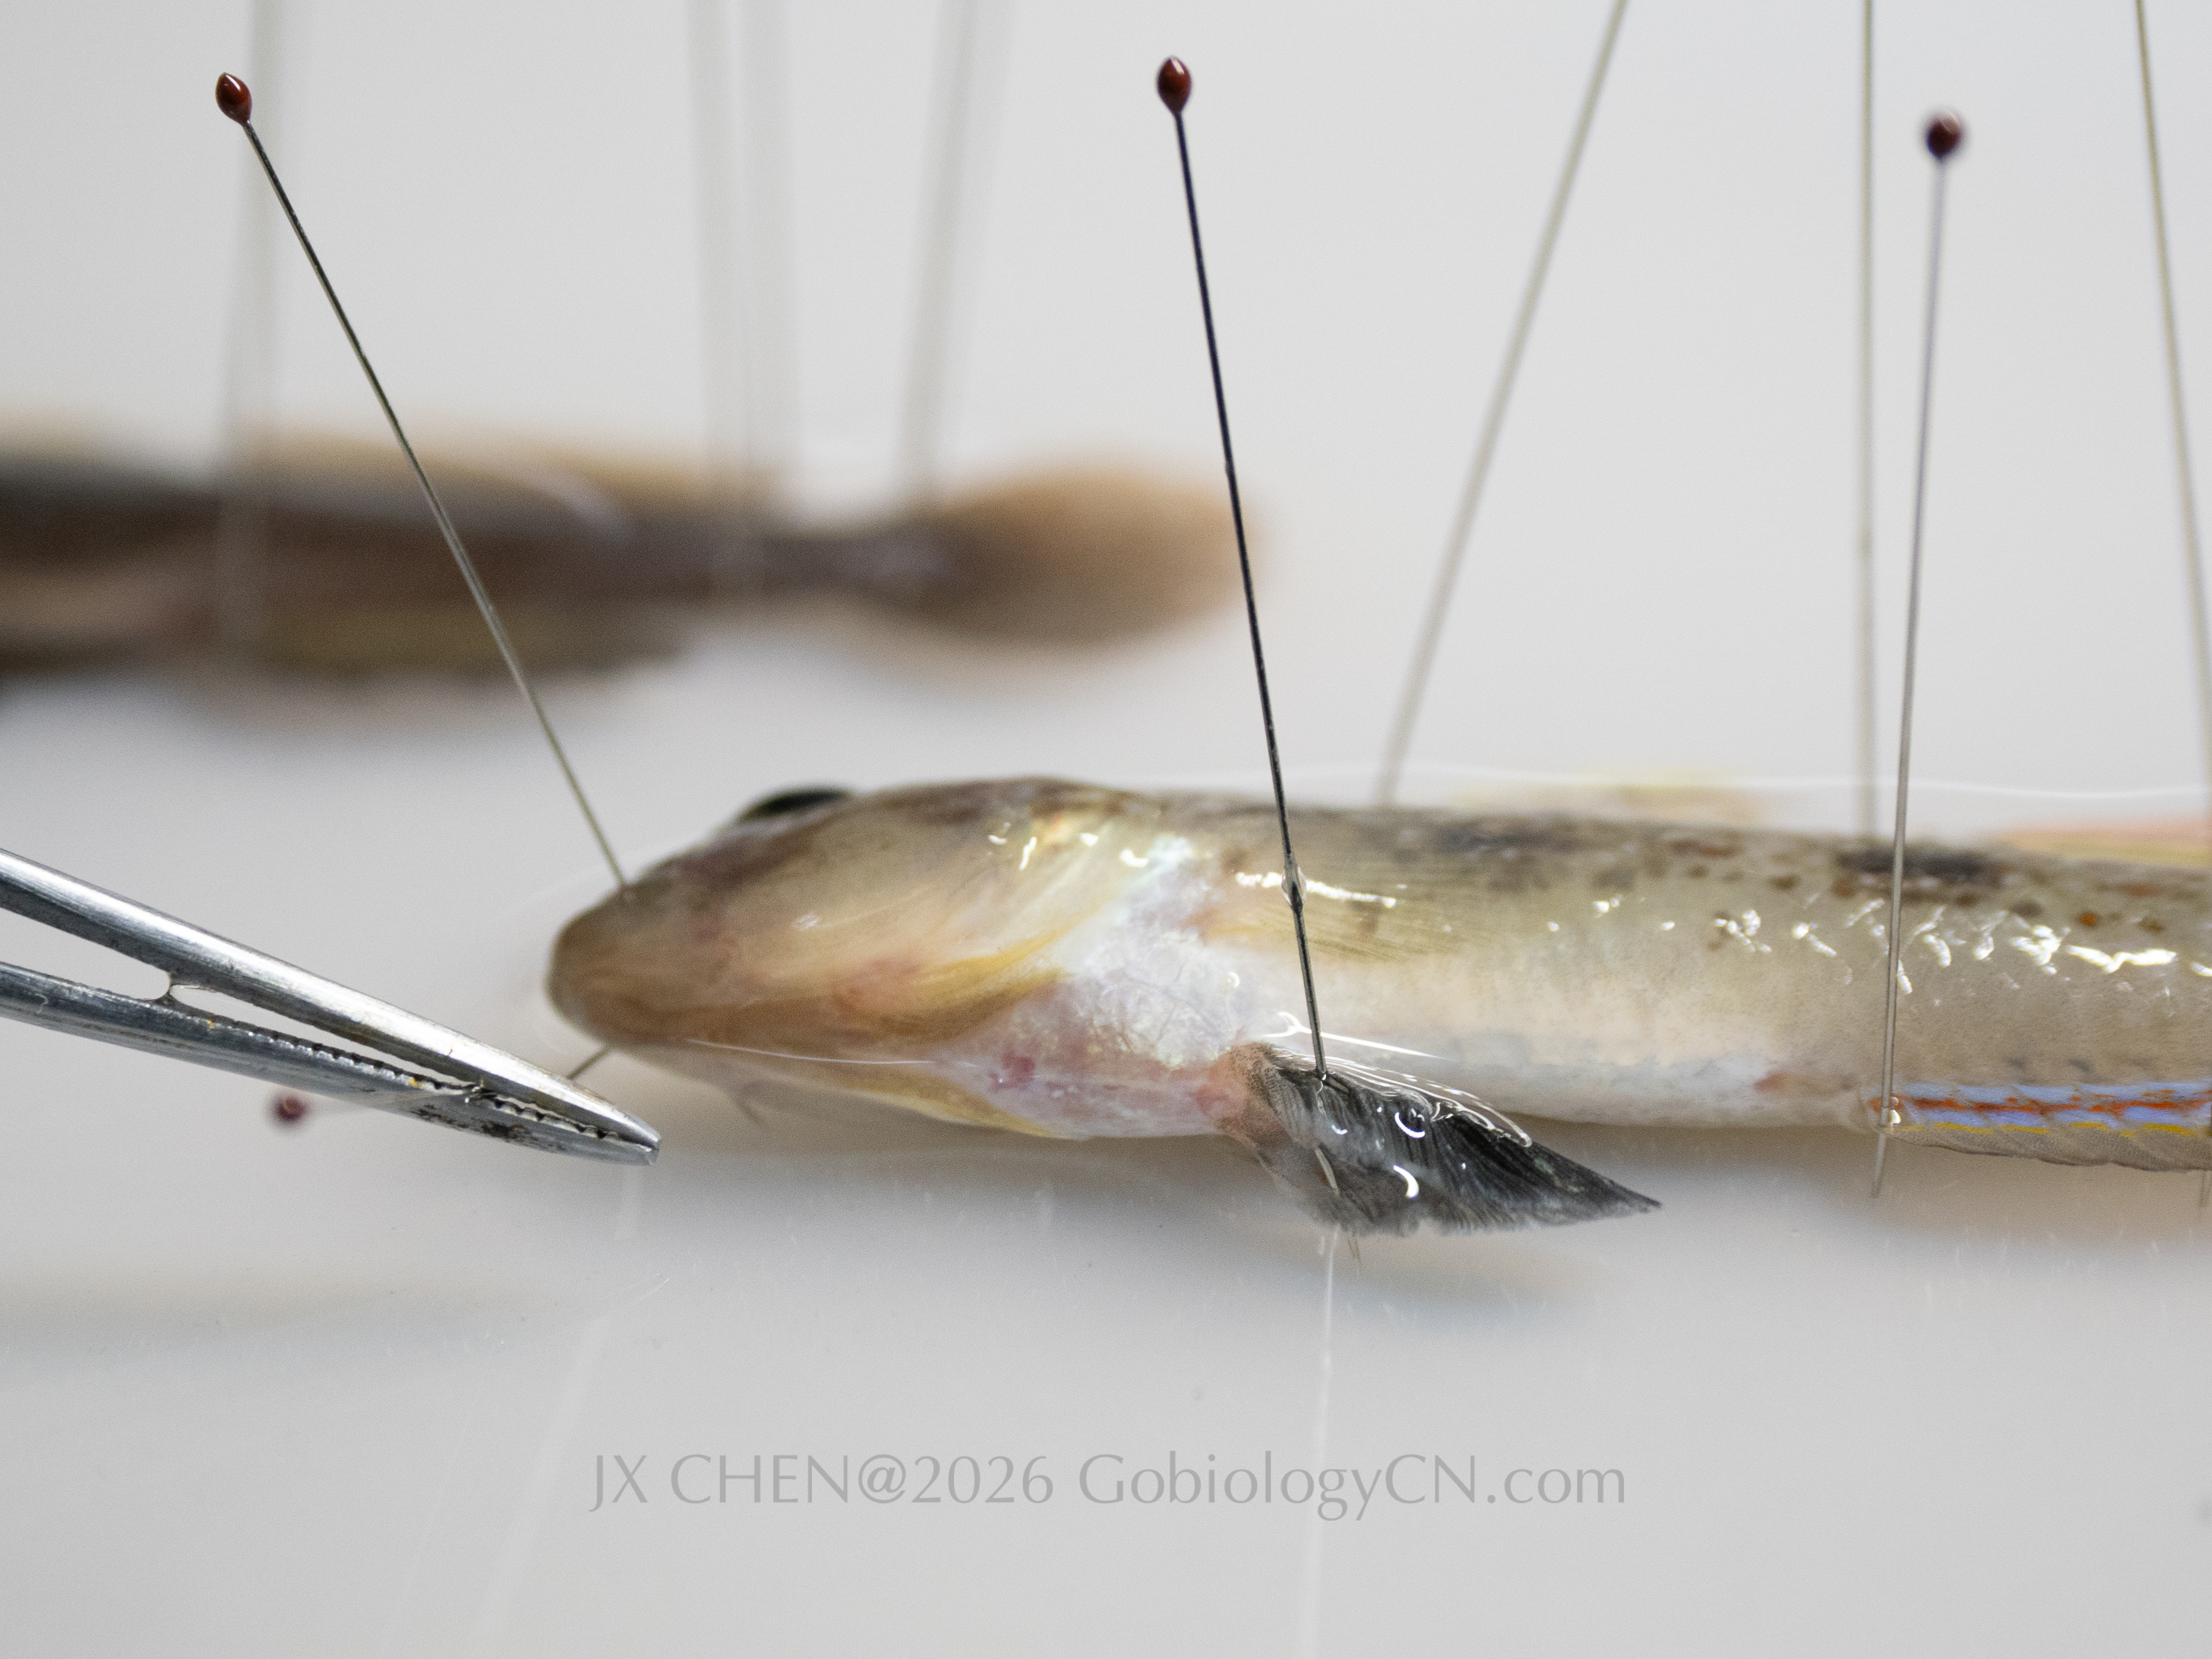
Apply an extra pin to lift its head.
Fixation
Once the specimen is properly arranged, carefully remove the water from the mold. during this process avoid bending or deforming the silicone mold too much, as this may disturb the specimen. Then add formalin, carefully and fully submerging the fish. The specimen is left for approximately 30 minutes. This short fixation is sufficient to stabilize the posture, while still minimizing DNA damage.
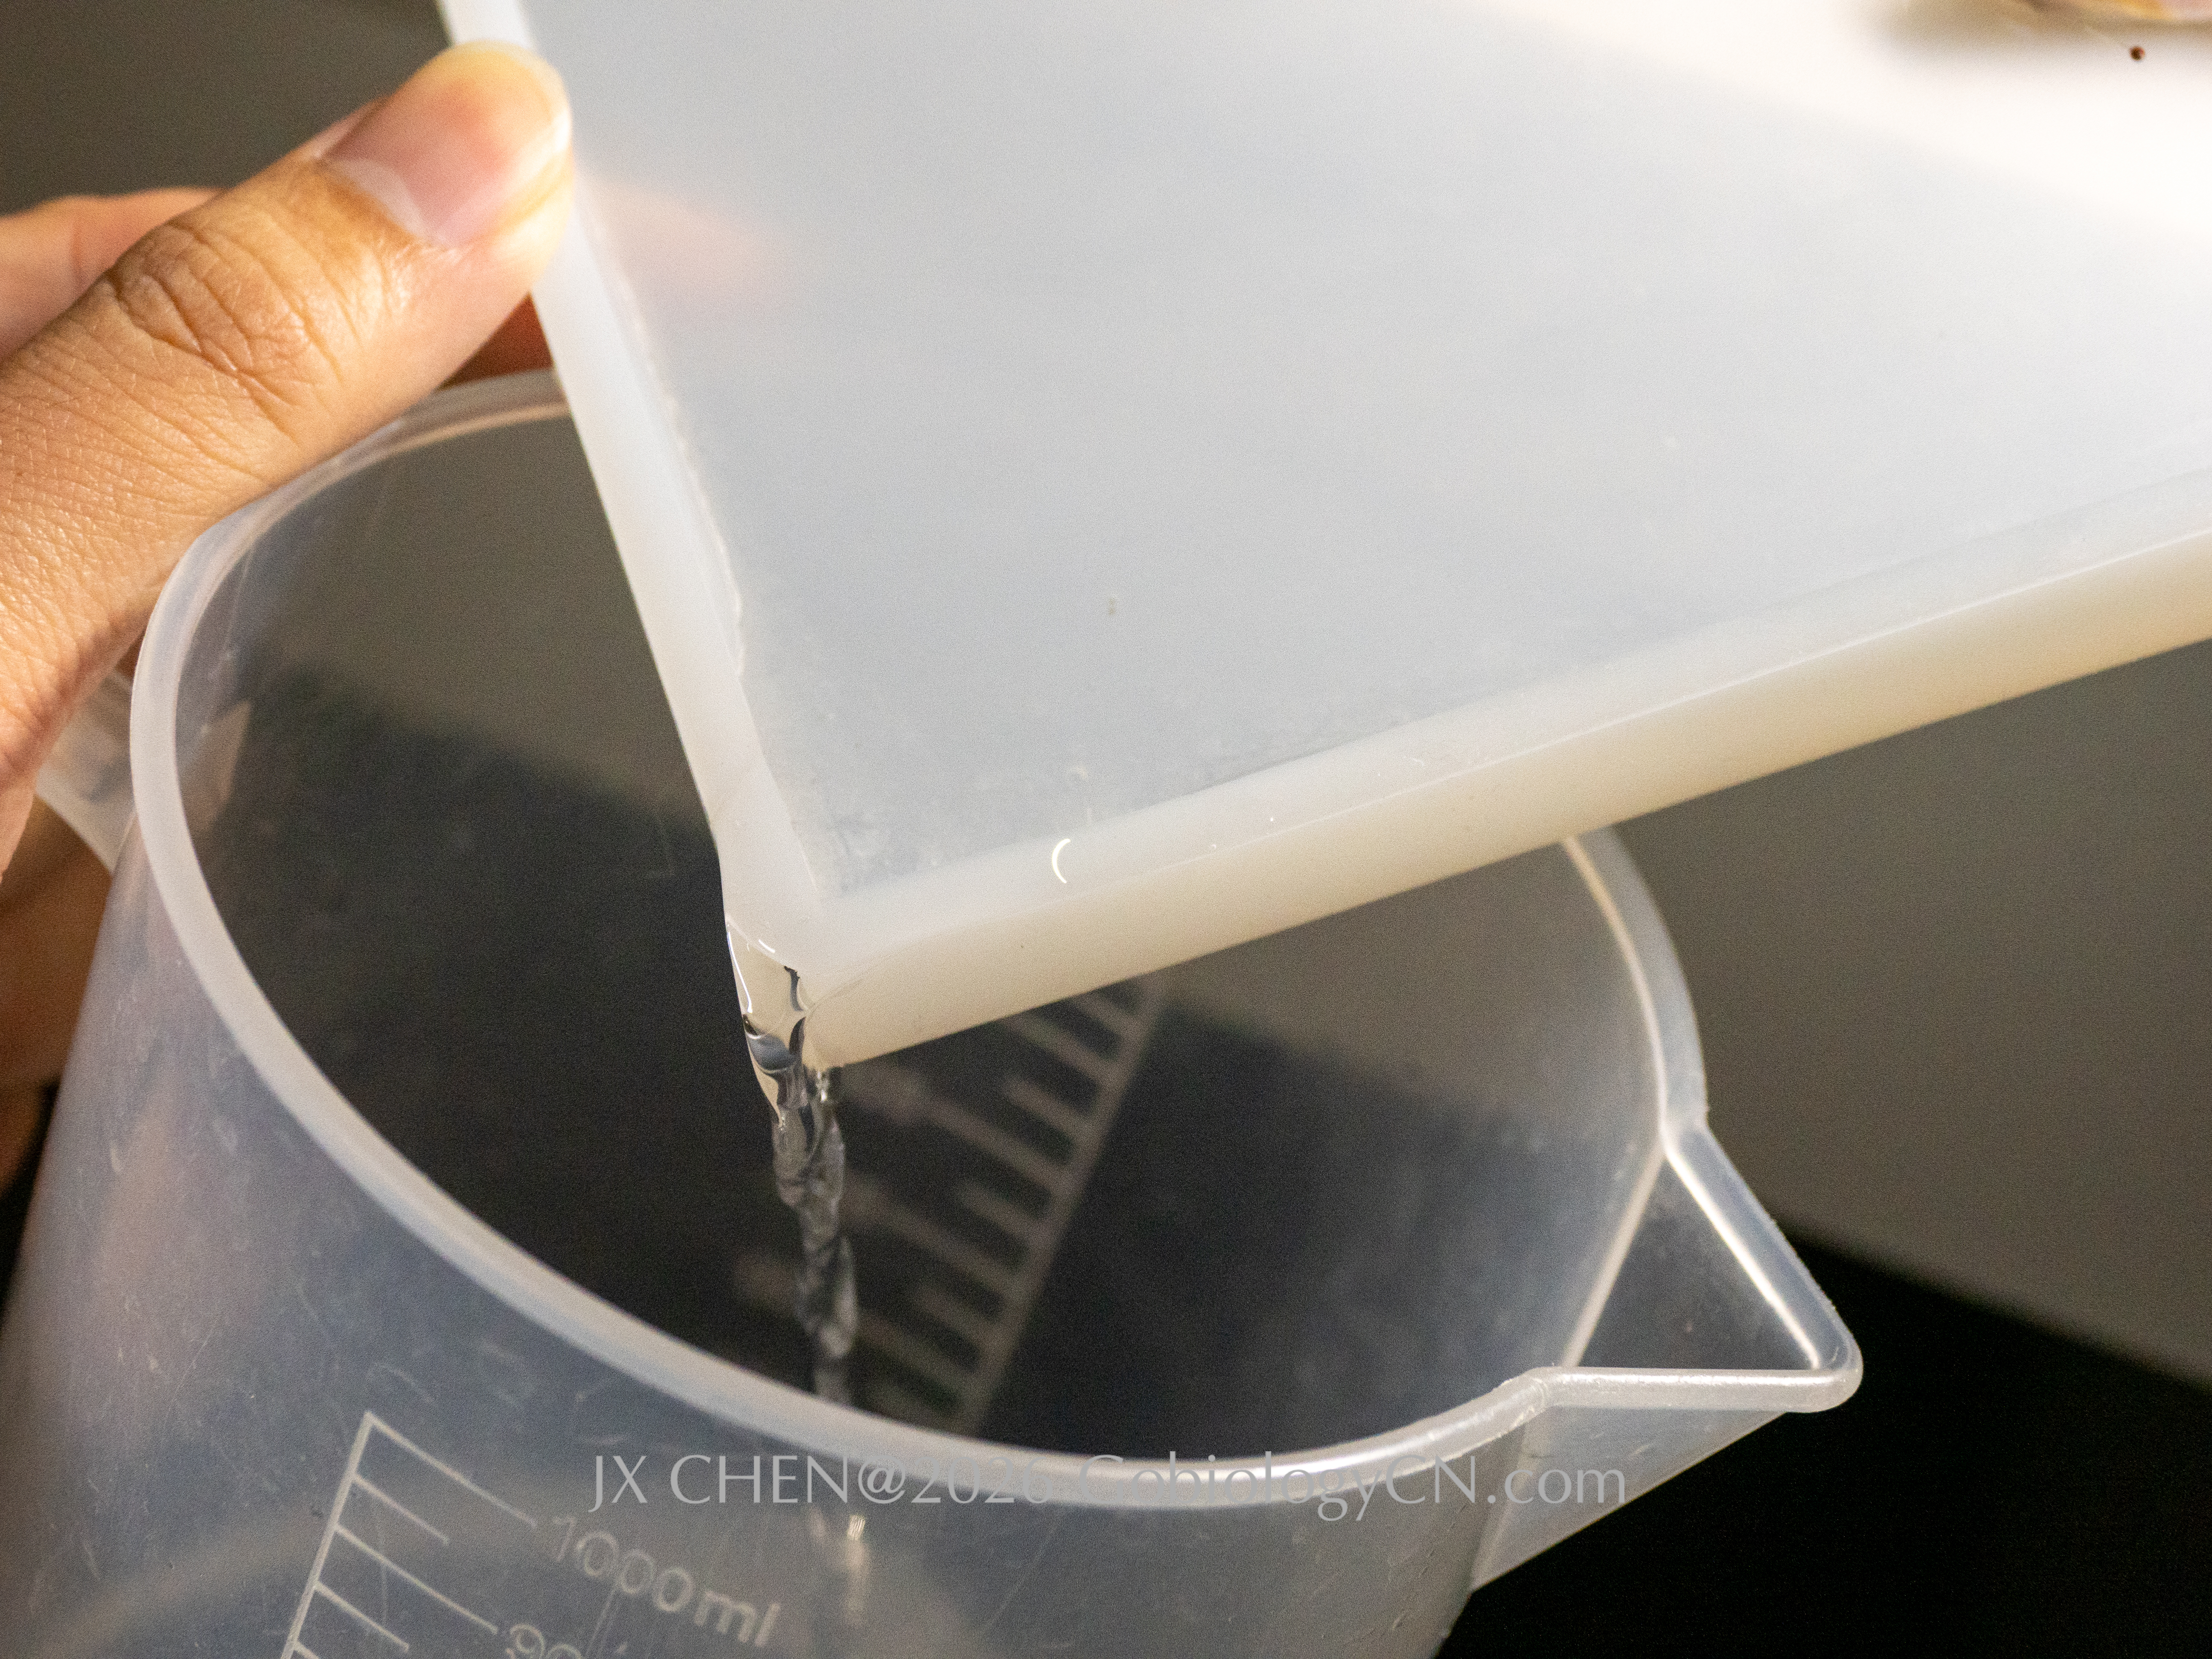
Remove the water gently.
Apply formalin.
Ensure submerged when fixing.
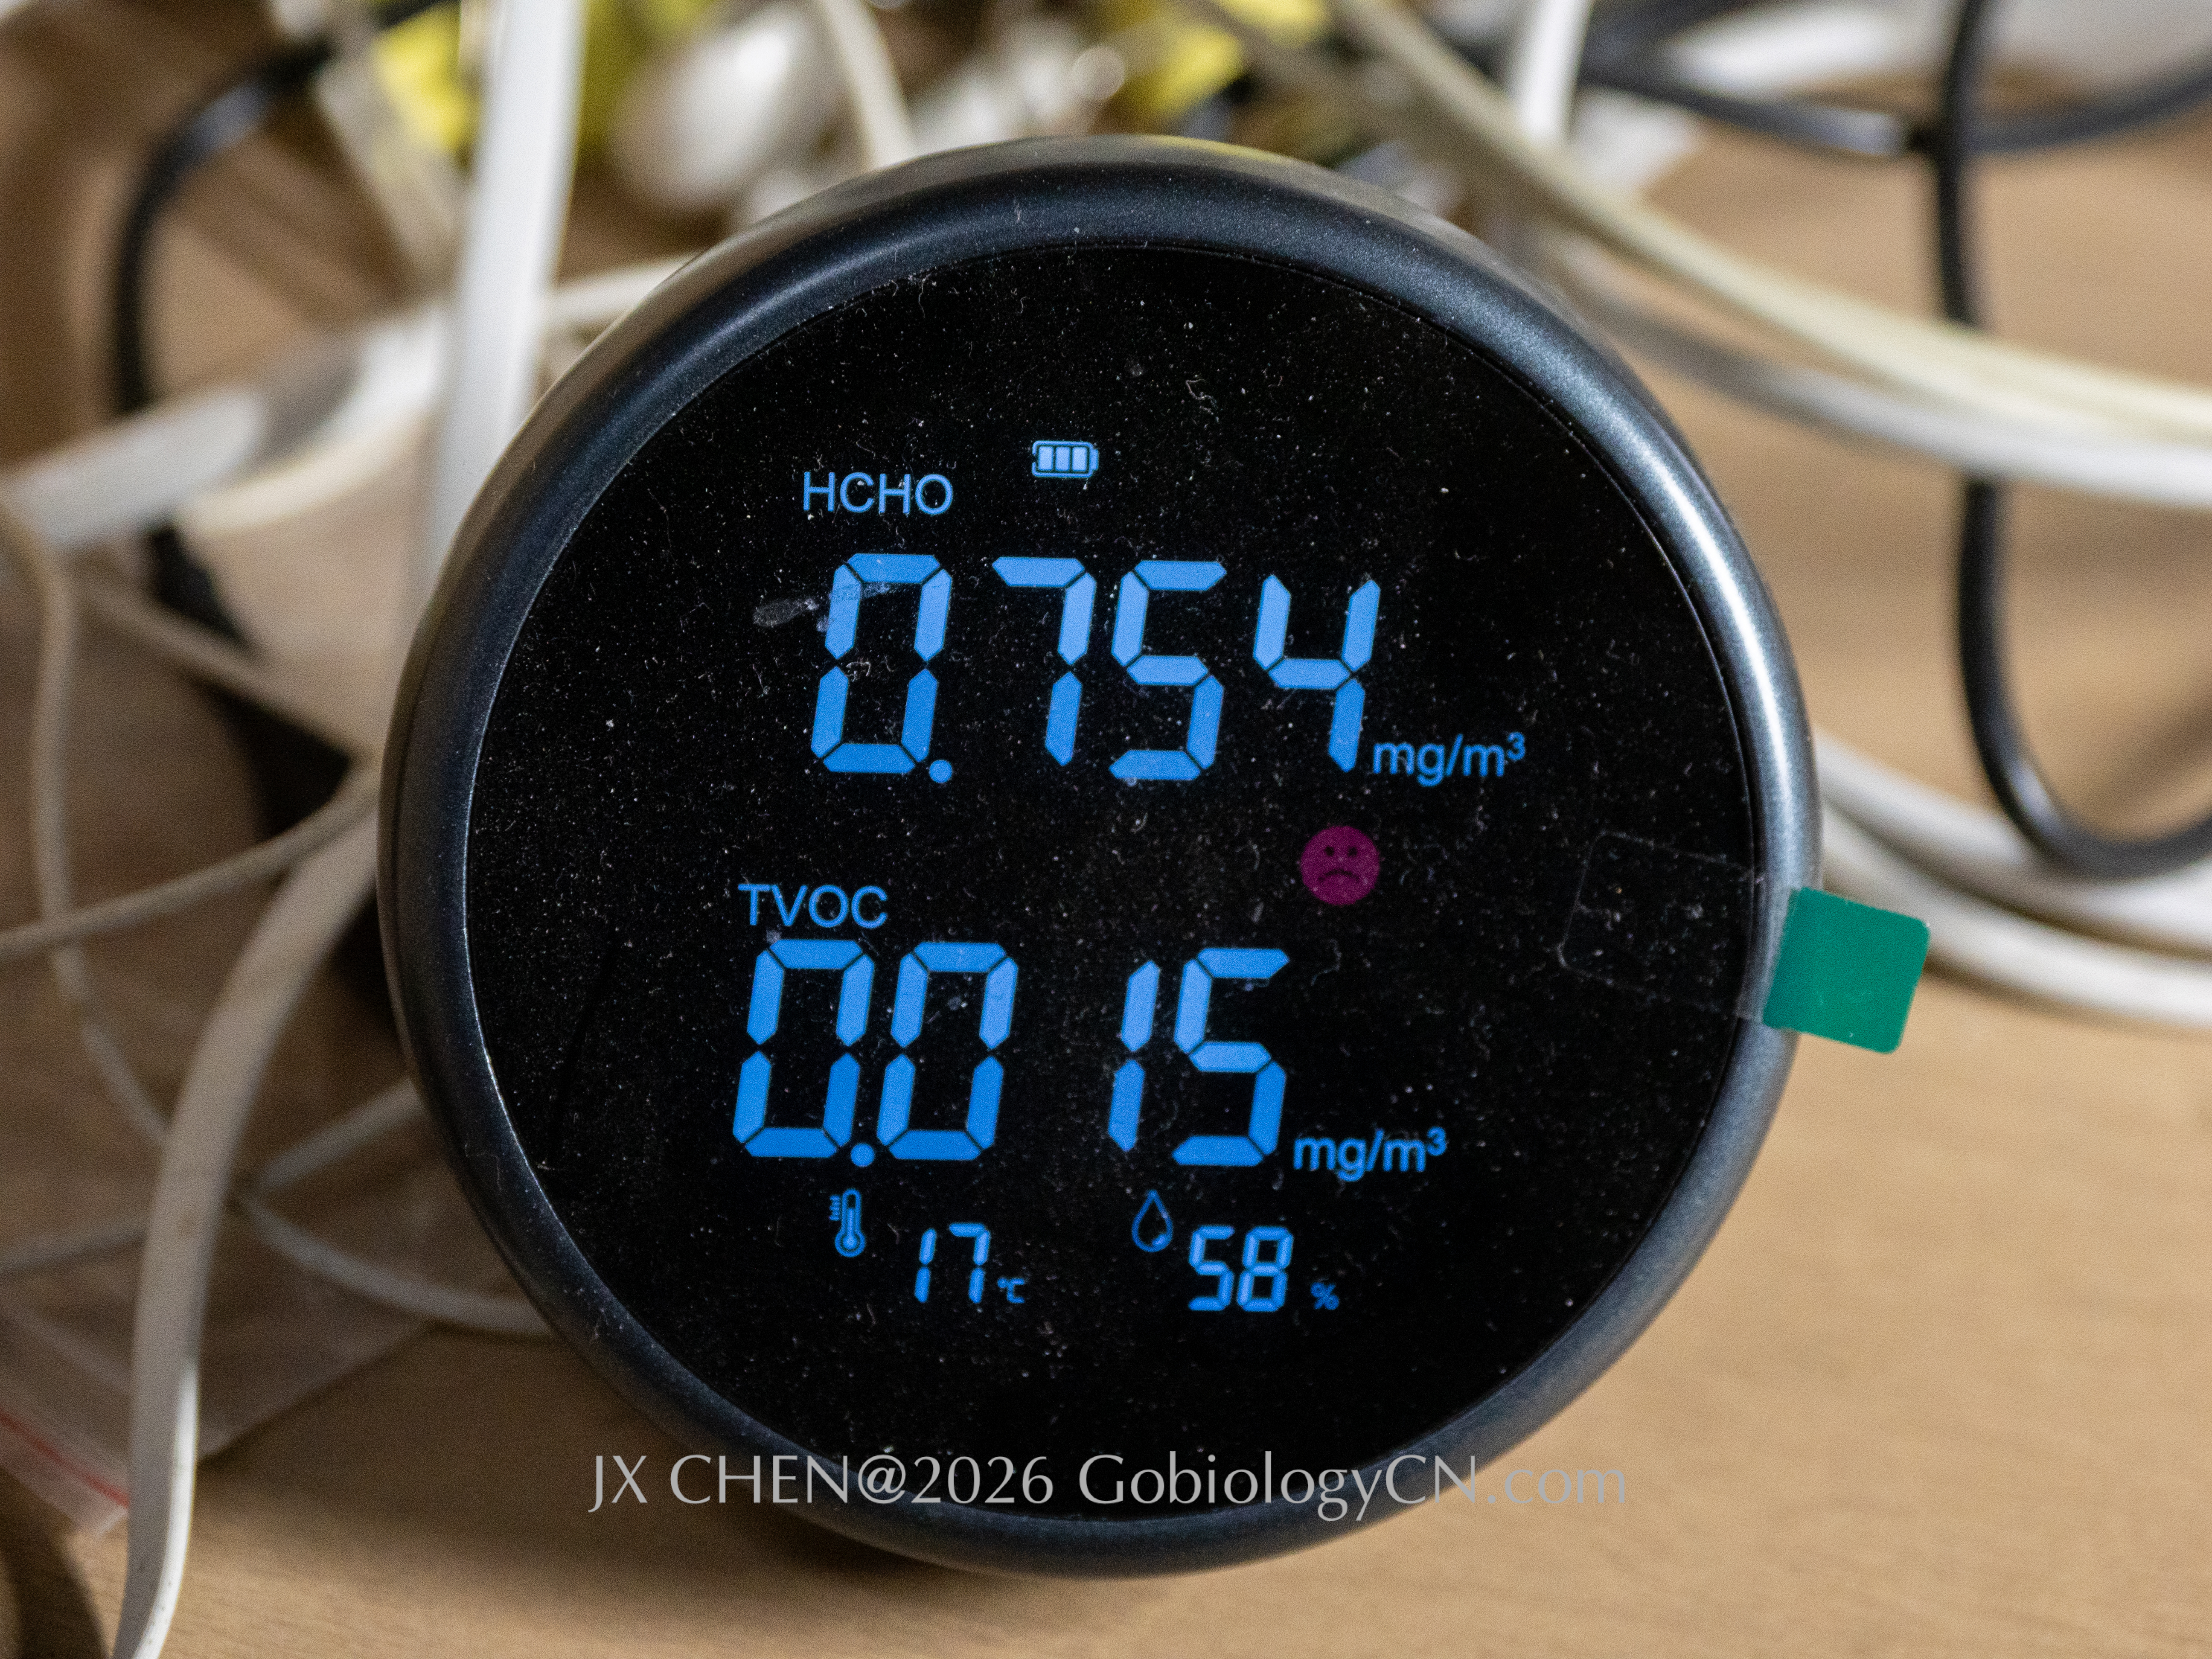
Formalin is bad for human health. I use an HCHO meter to monitor the room formaldehyde concentration.
After fixation carefully remove the formalin like removing the water before. Gently rinse the specimen under running water to remove residual formalin and wash off any debris or surface contaminants. Pins are then removed carefully. In some cases, removing pins may cause fins to lift or collapse. To avoid this, I sometimes use a small tool (e.g., a fork-like support) to hold the fin in place while removing the pin.
Wash specimen under running water.
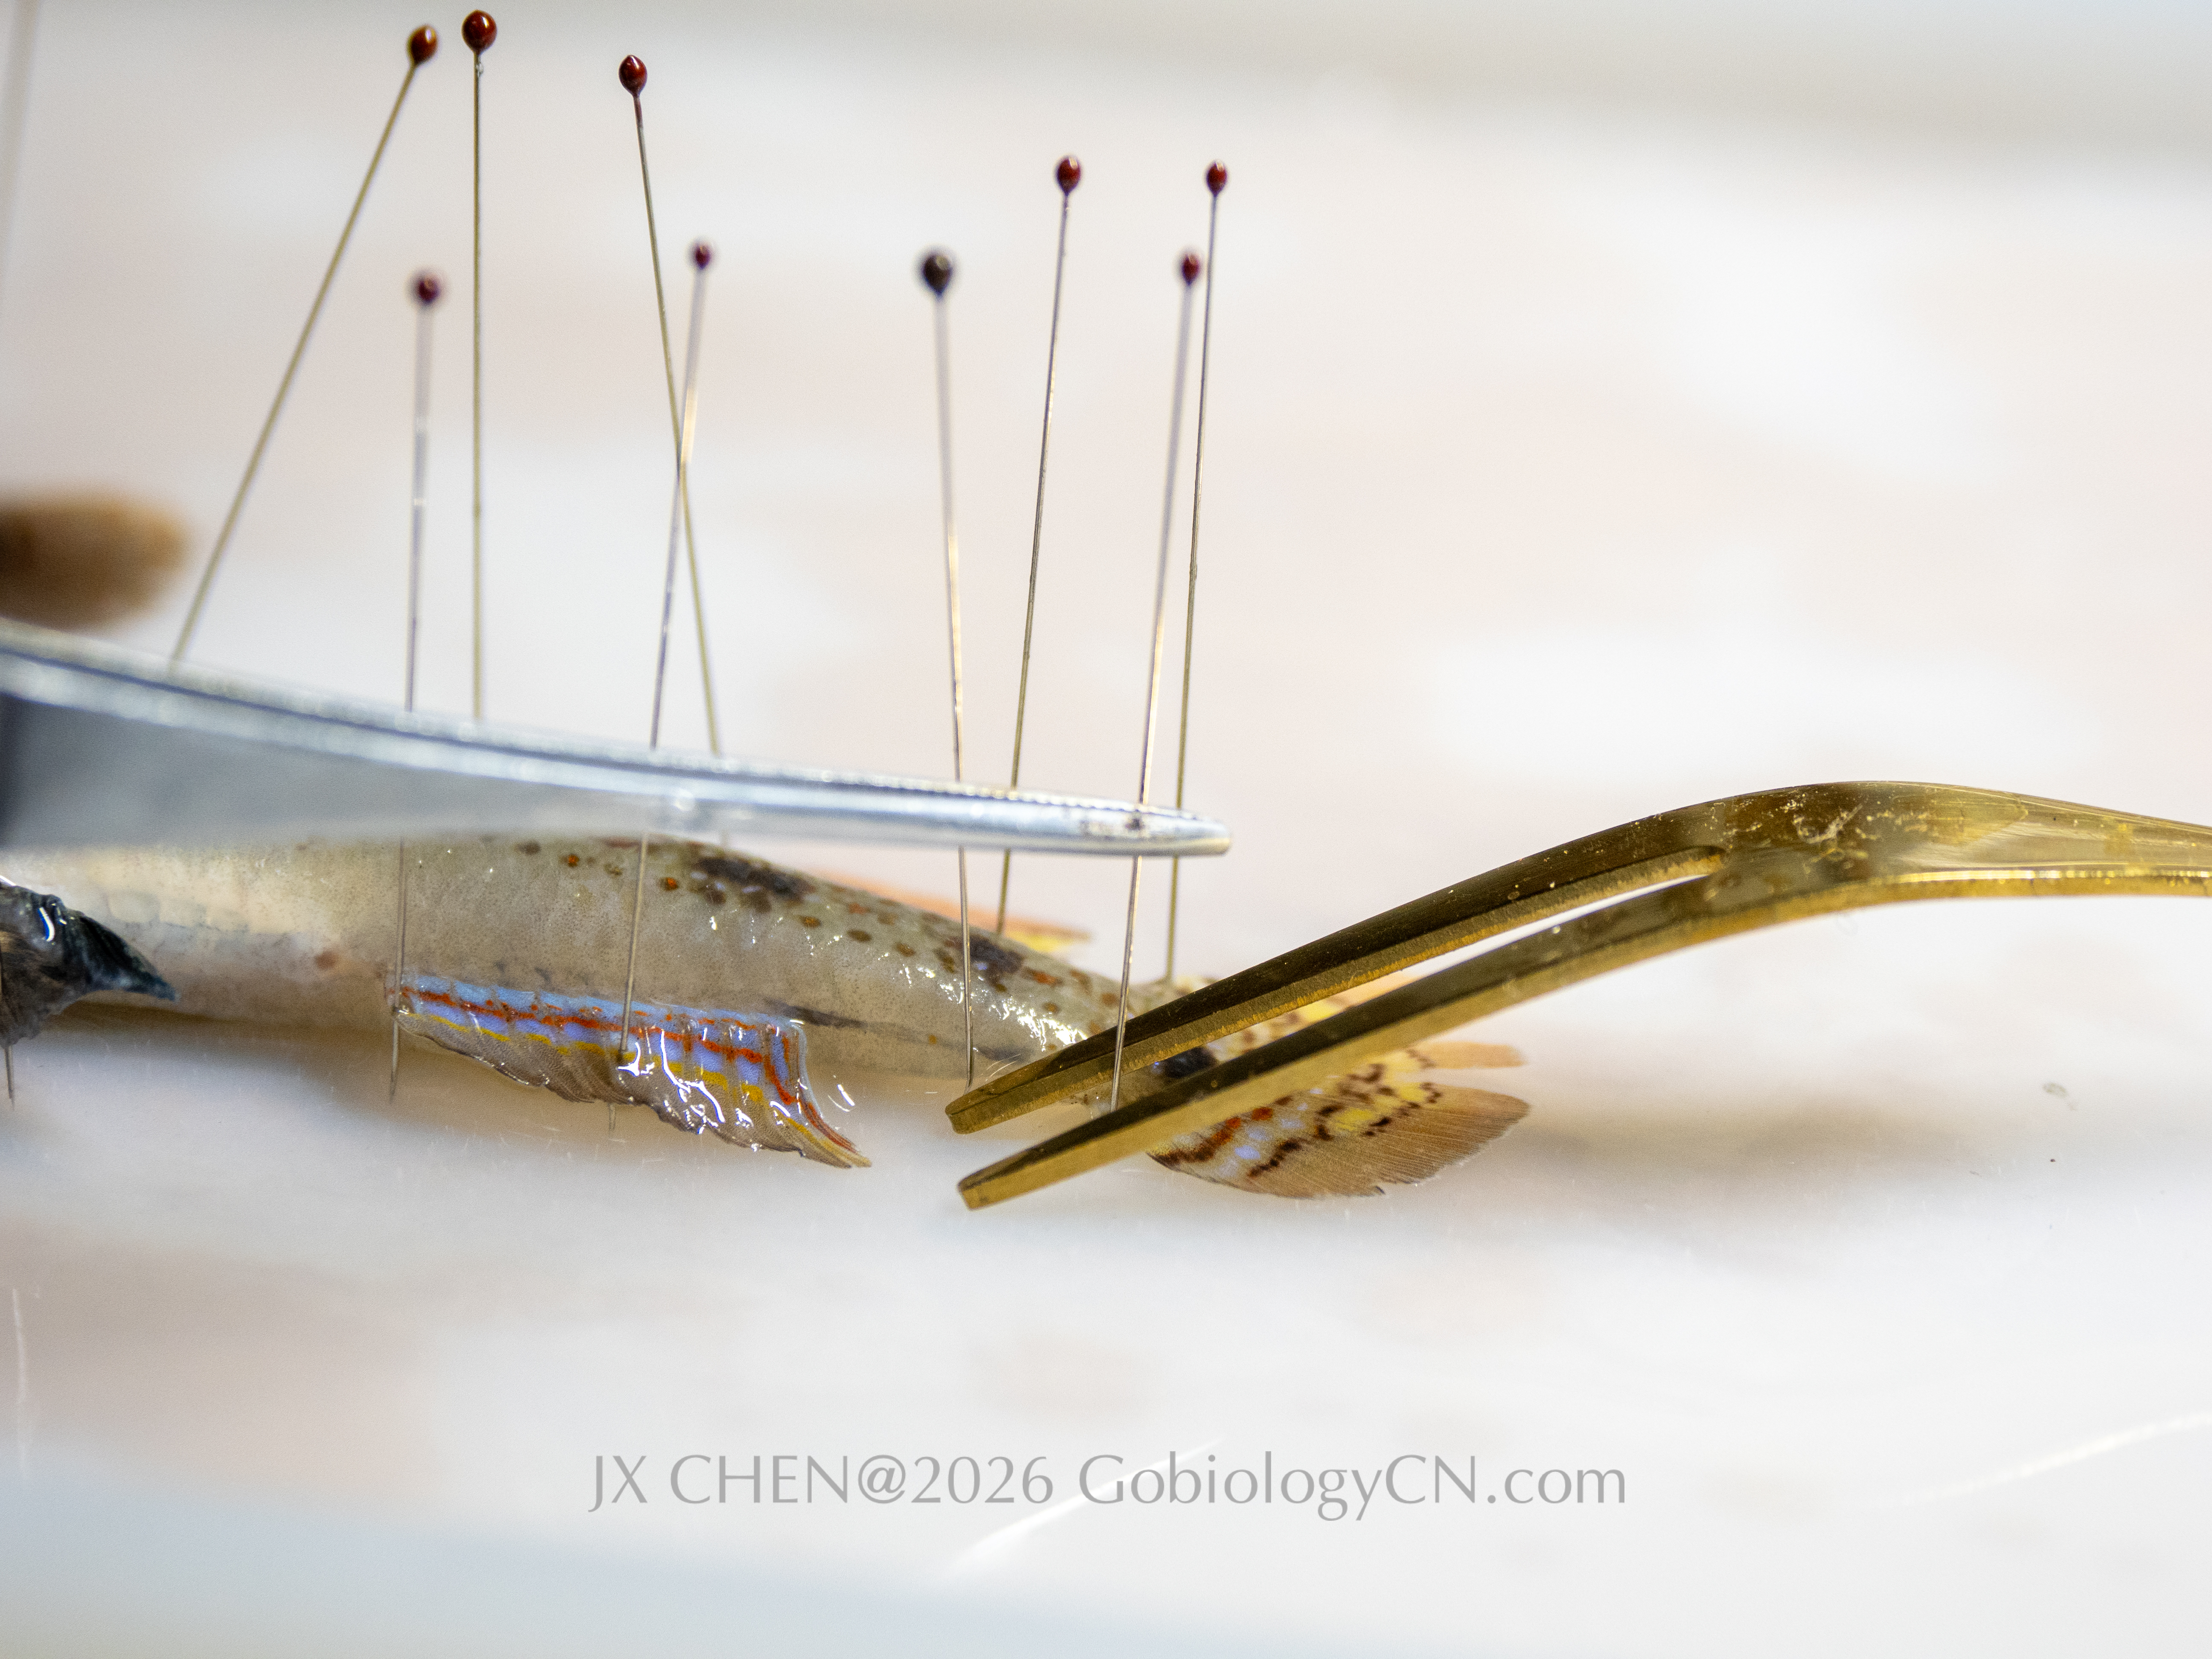
Unpin the specimen. Unpinning follows the same order as pinning, starting from caudal fin and ends at head.
Photography
For photography, I use a raised transparent container (acrylic or glass). This can be achieved either with a purpose-built stand or by placing the tank on four supports (e.g. bottles, lilke many others do). The purpose of elevation is to avoid shadows. Placing the tank directly on a background often results in unwanted dark areas beneath the specimen. Add water to the container then place the specimen in water, and remove air bubbles using tweezers. Water level should be controlled carefully: Too high leads to reduced detail, and too low may make parts of the fish break the surface and cause reflections.
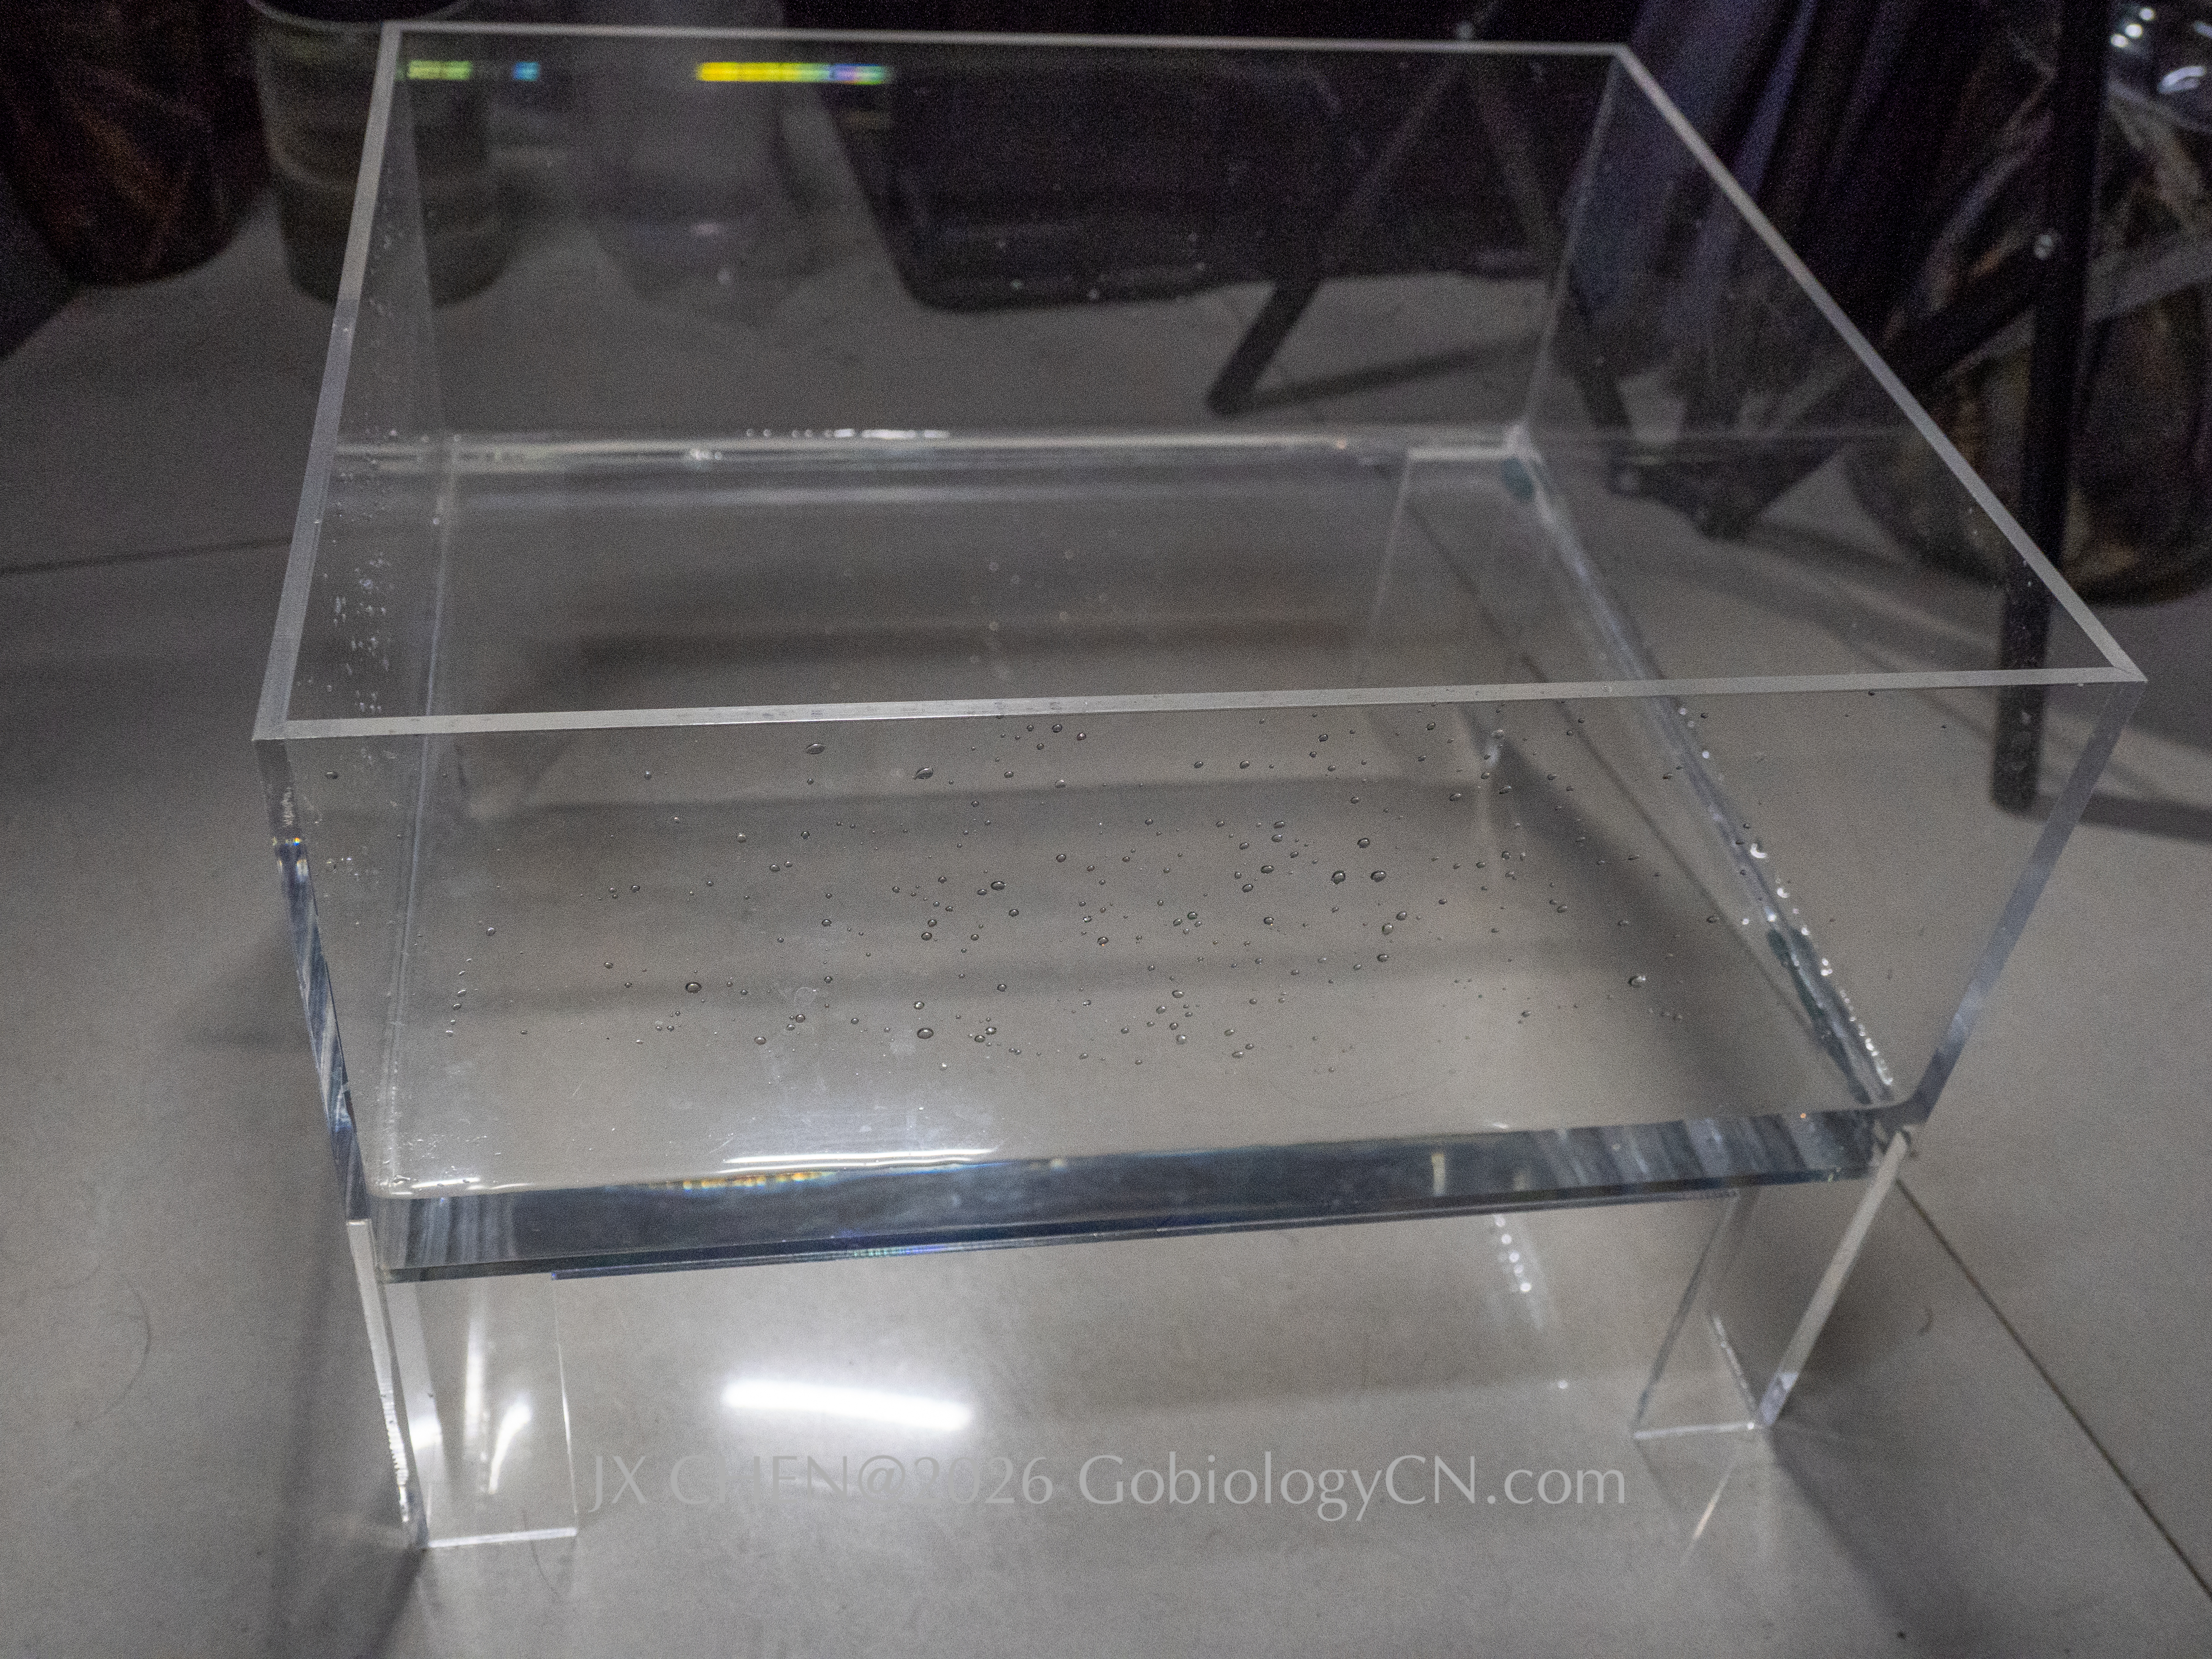
Container I used.
Gently remove bubbles.
Support for fish is also important because otherwise the body may not remain parallel to the water surface, leading to distorted images. I use industrial clay to support the fish.

Fish before supporting.
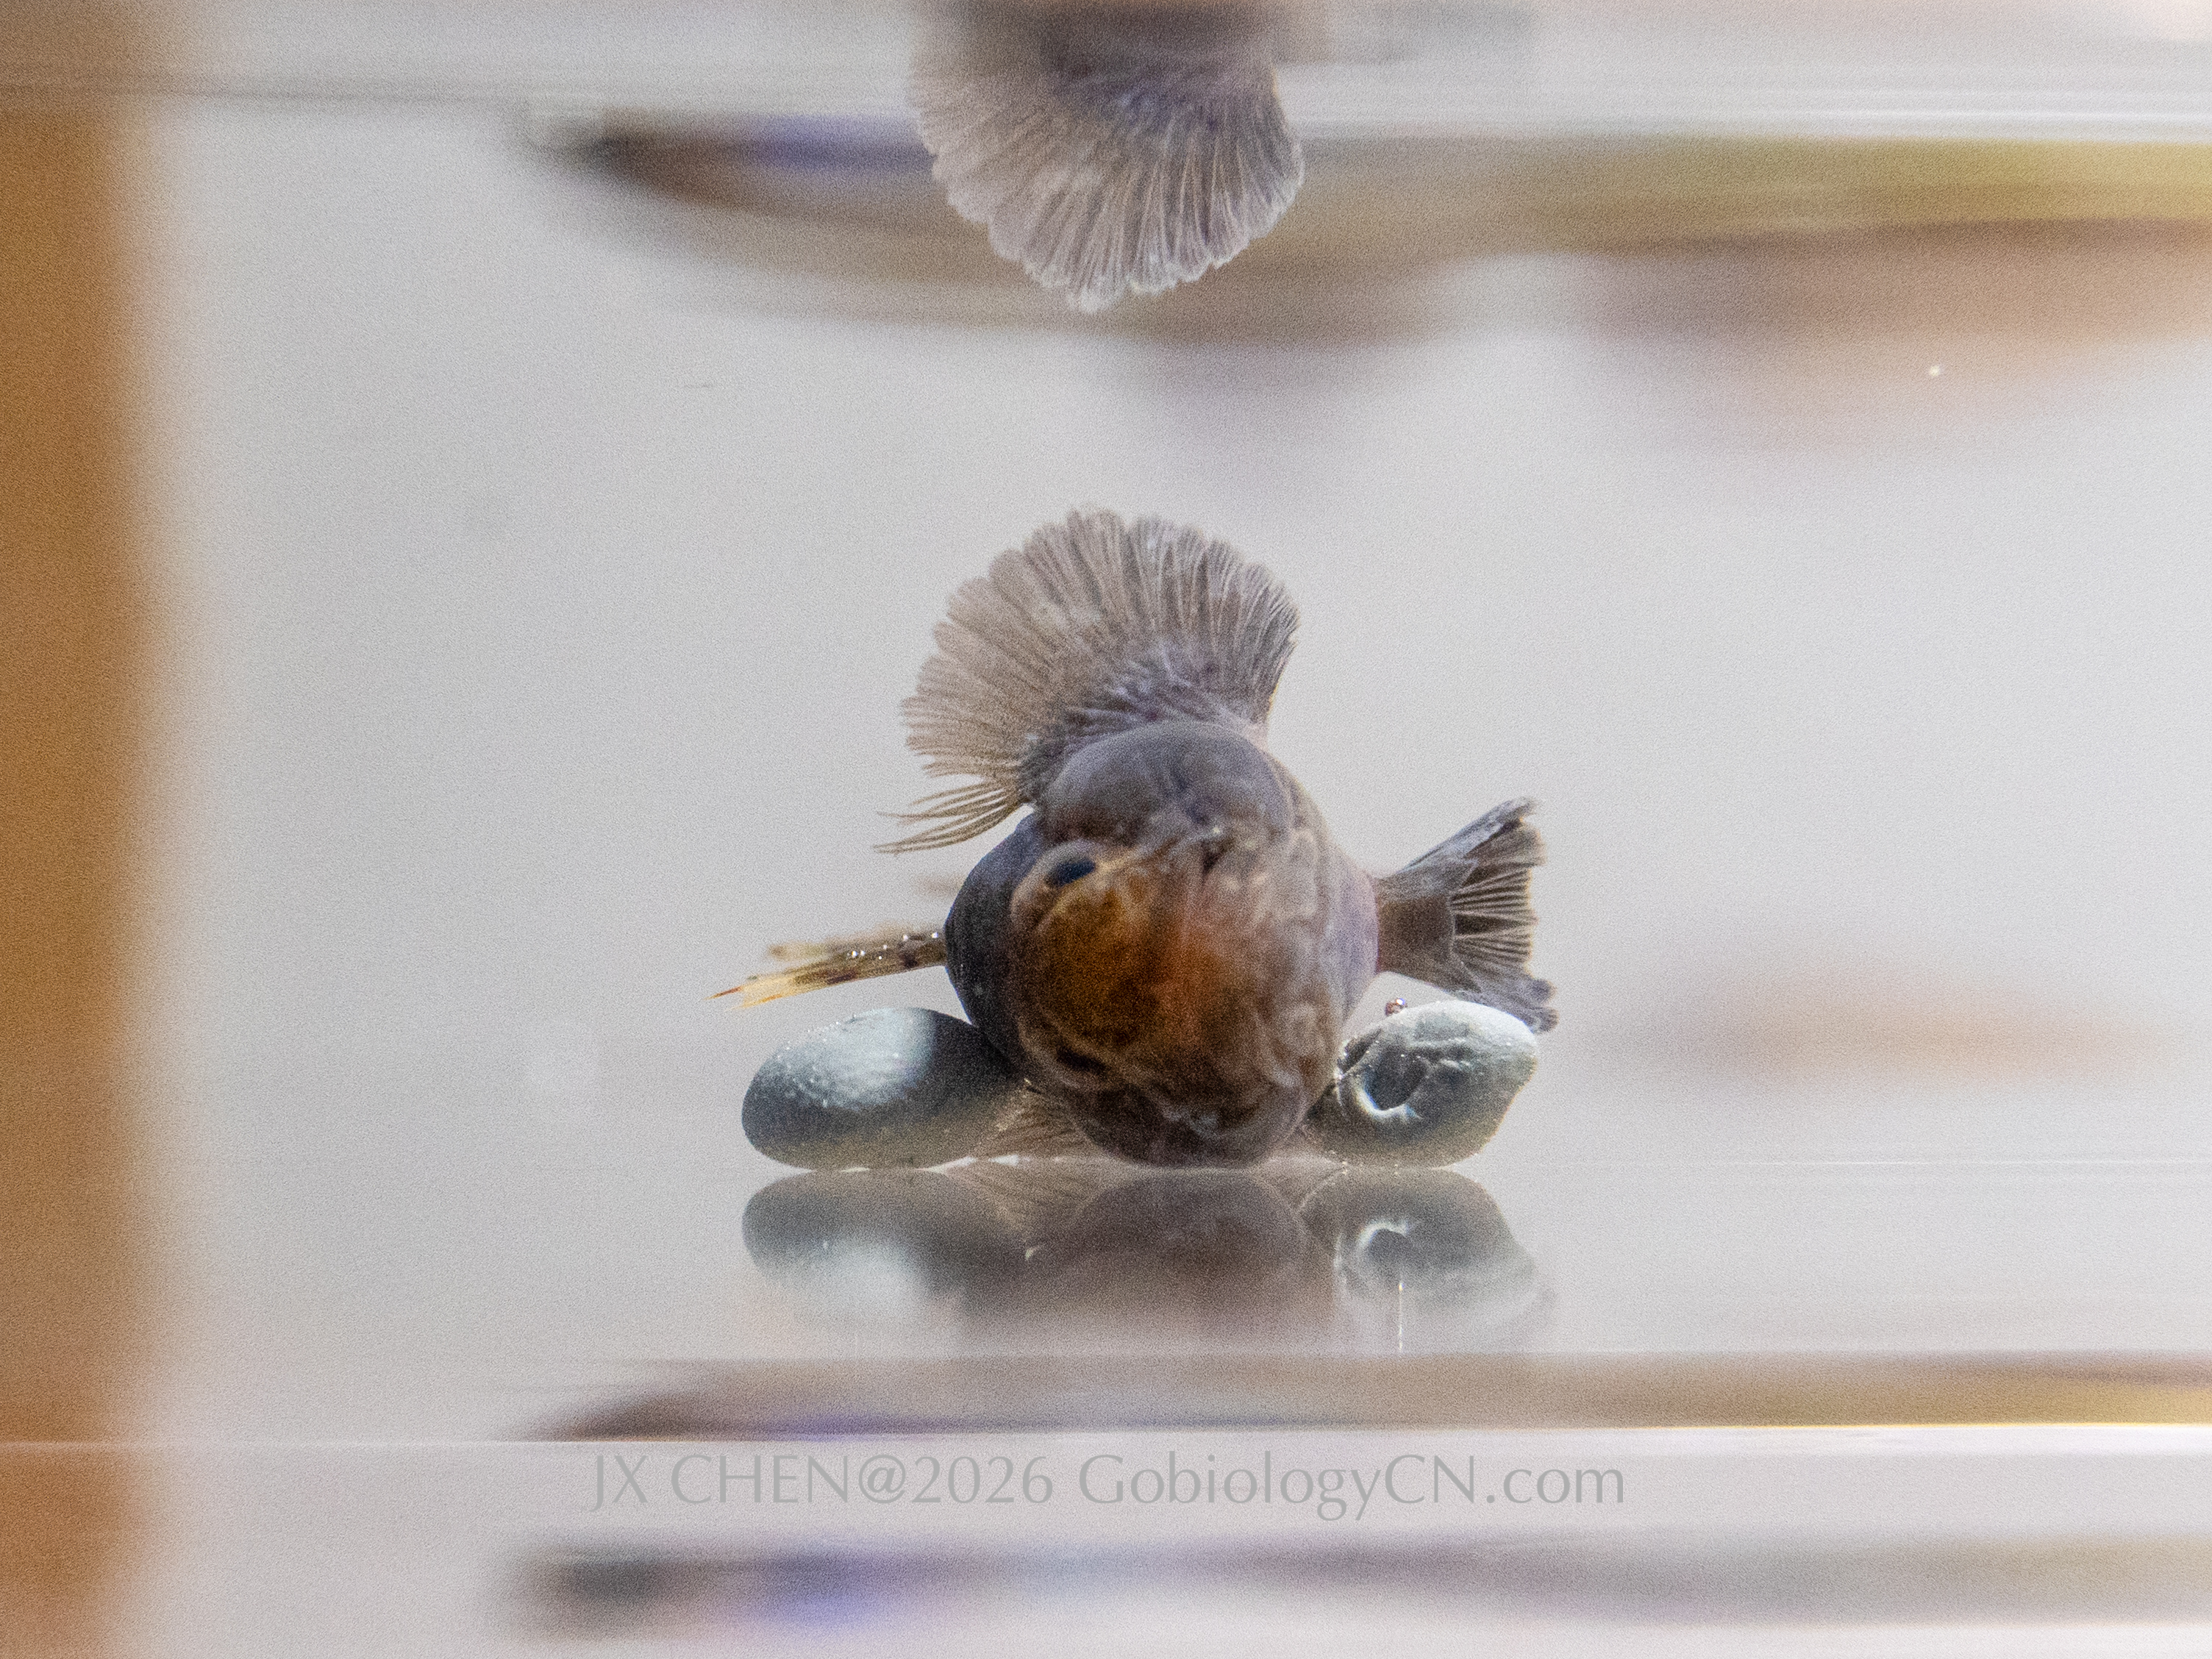
Fish after supporting.
During photography I use multiple light sources: 3 flash for small specimens, and 4 for larger specimens. Lighting is triggered using a remote trigger, and photographs are taken from above. A neutral gray background works well and can be easily improvised. I generally prefer gray over black, as black backgrounds are commonly used but may obscure or reduce fine details in darker regions of the specimen.
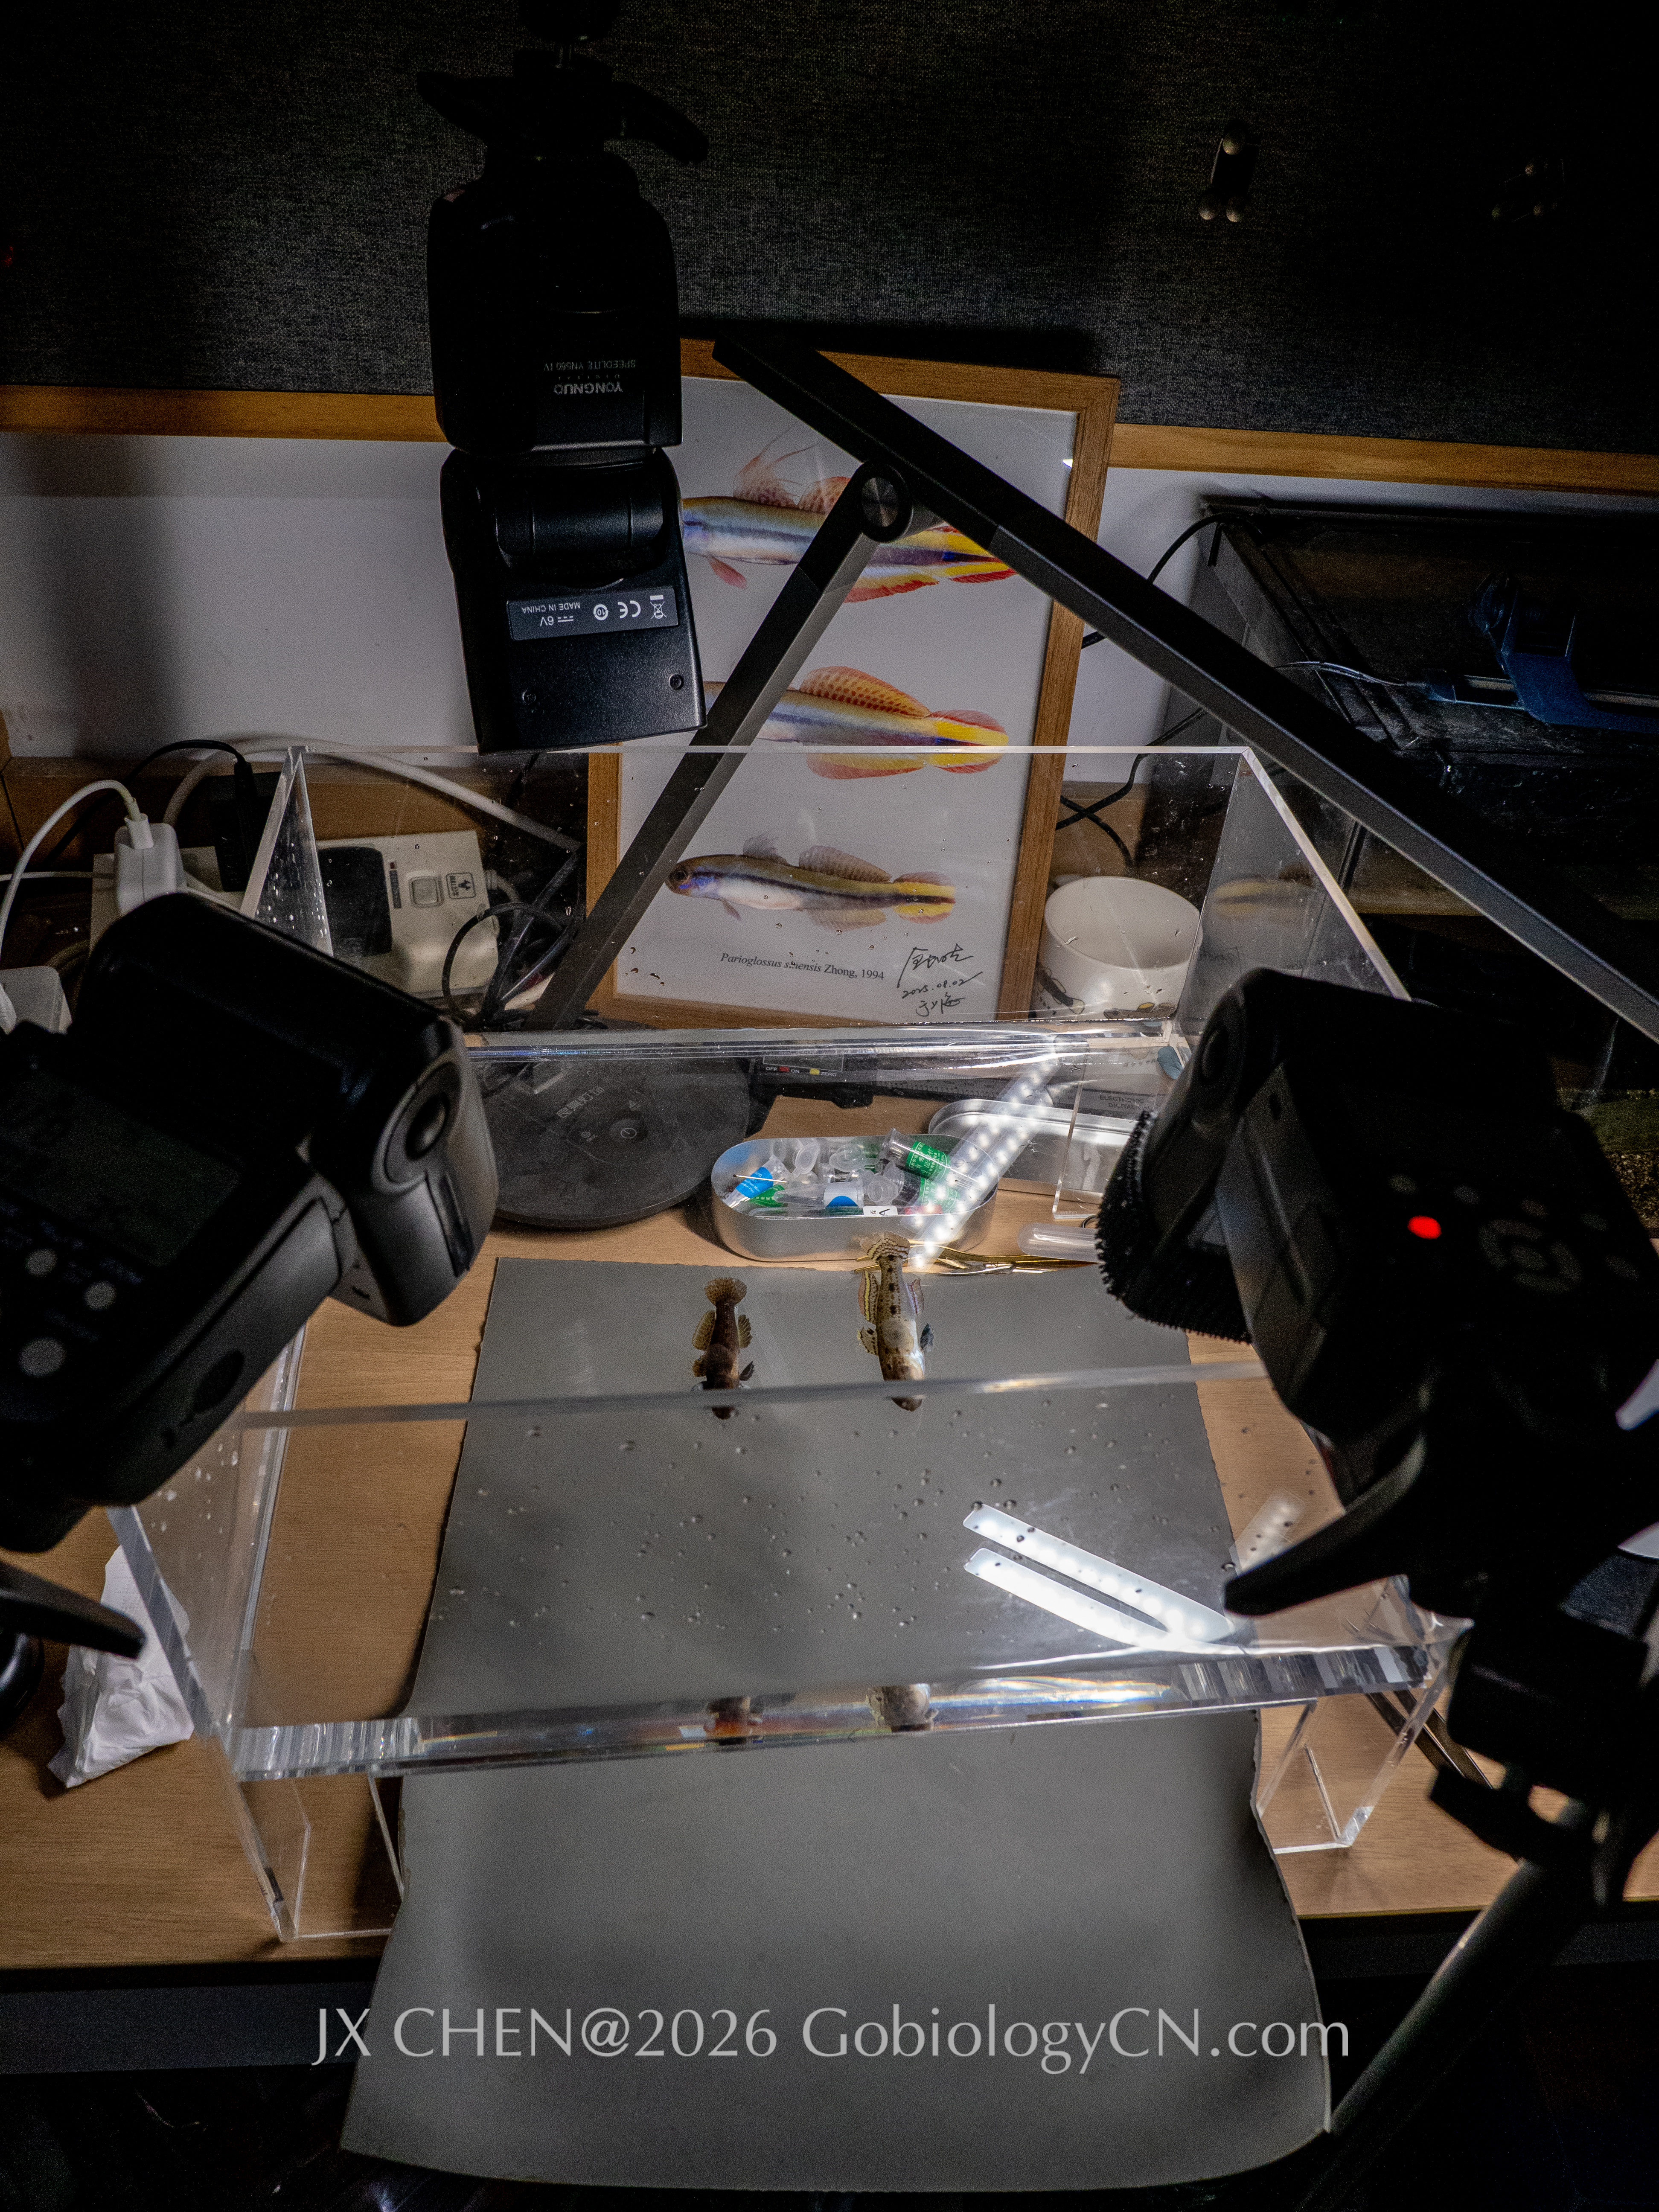
Photography setup I used.
After photography
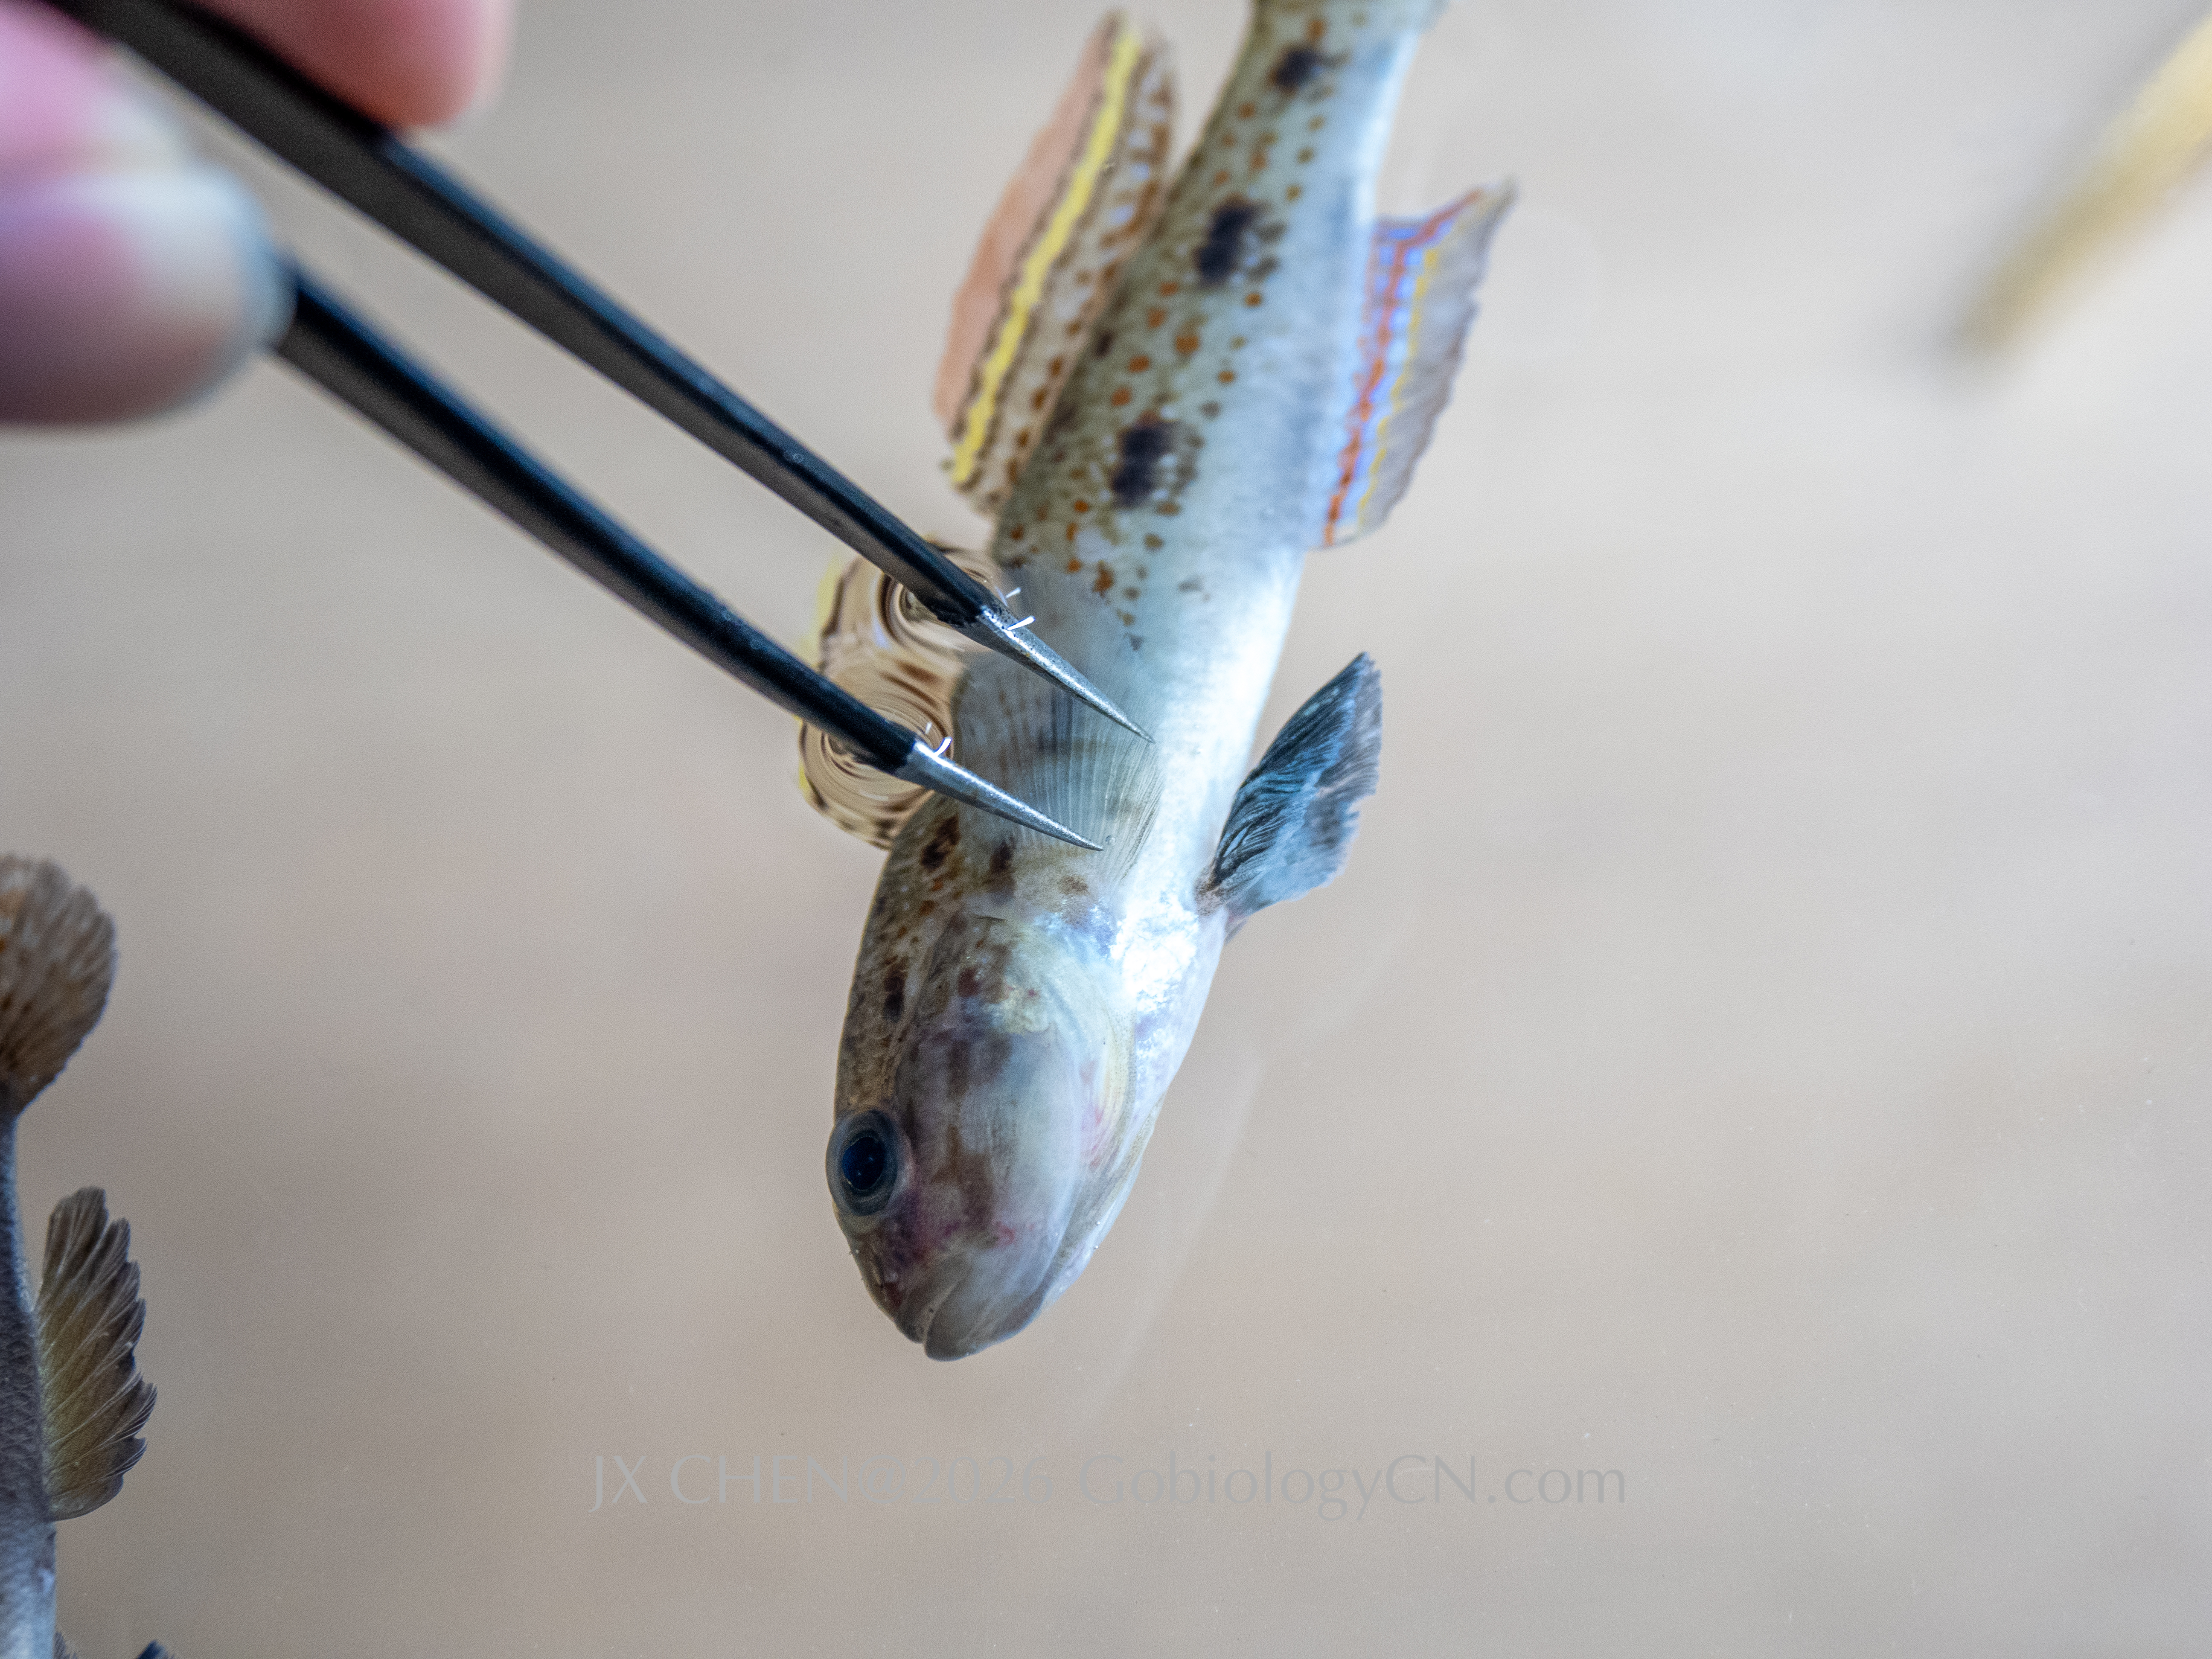
When finished photographing, a small piece of muscle tissue or the right pectoral fin is removed. The tissue is preserved in 95% ethanol for DNA extraction. The remaining specimen is then fixed in formalin for 1–2 weeks, washed in running water for about 1 day and transferred to ethanol for long-term storage. This follows standard procedures similar to Motomura & Ishikawa (2013).
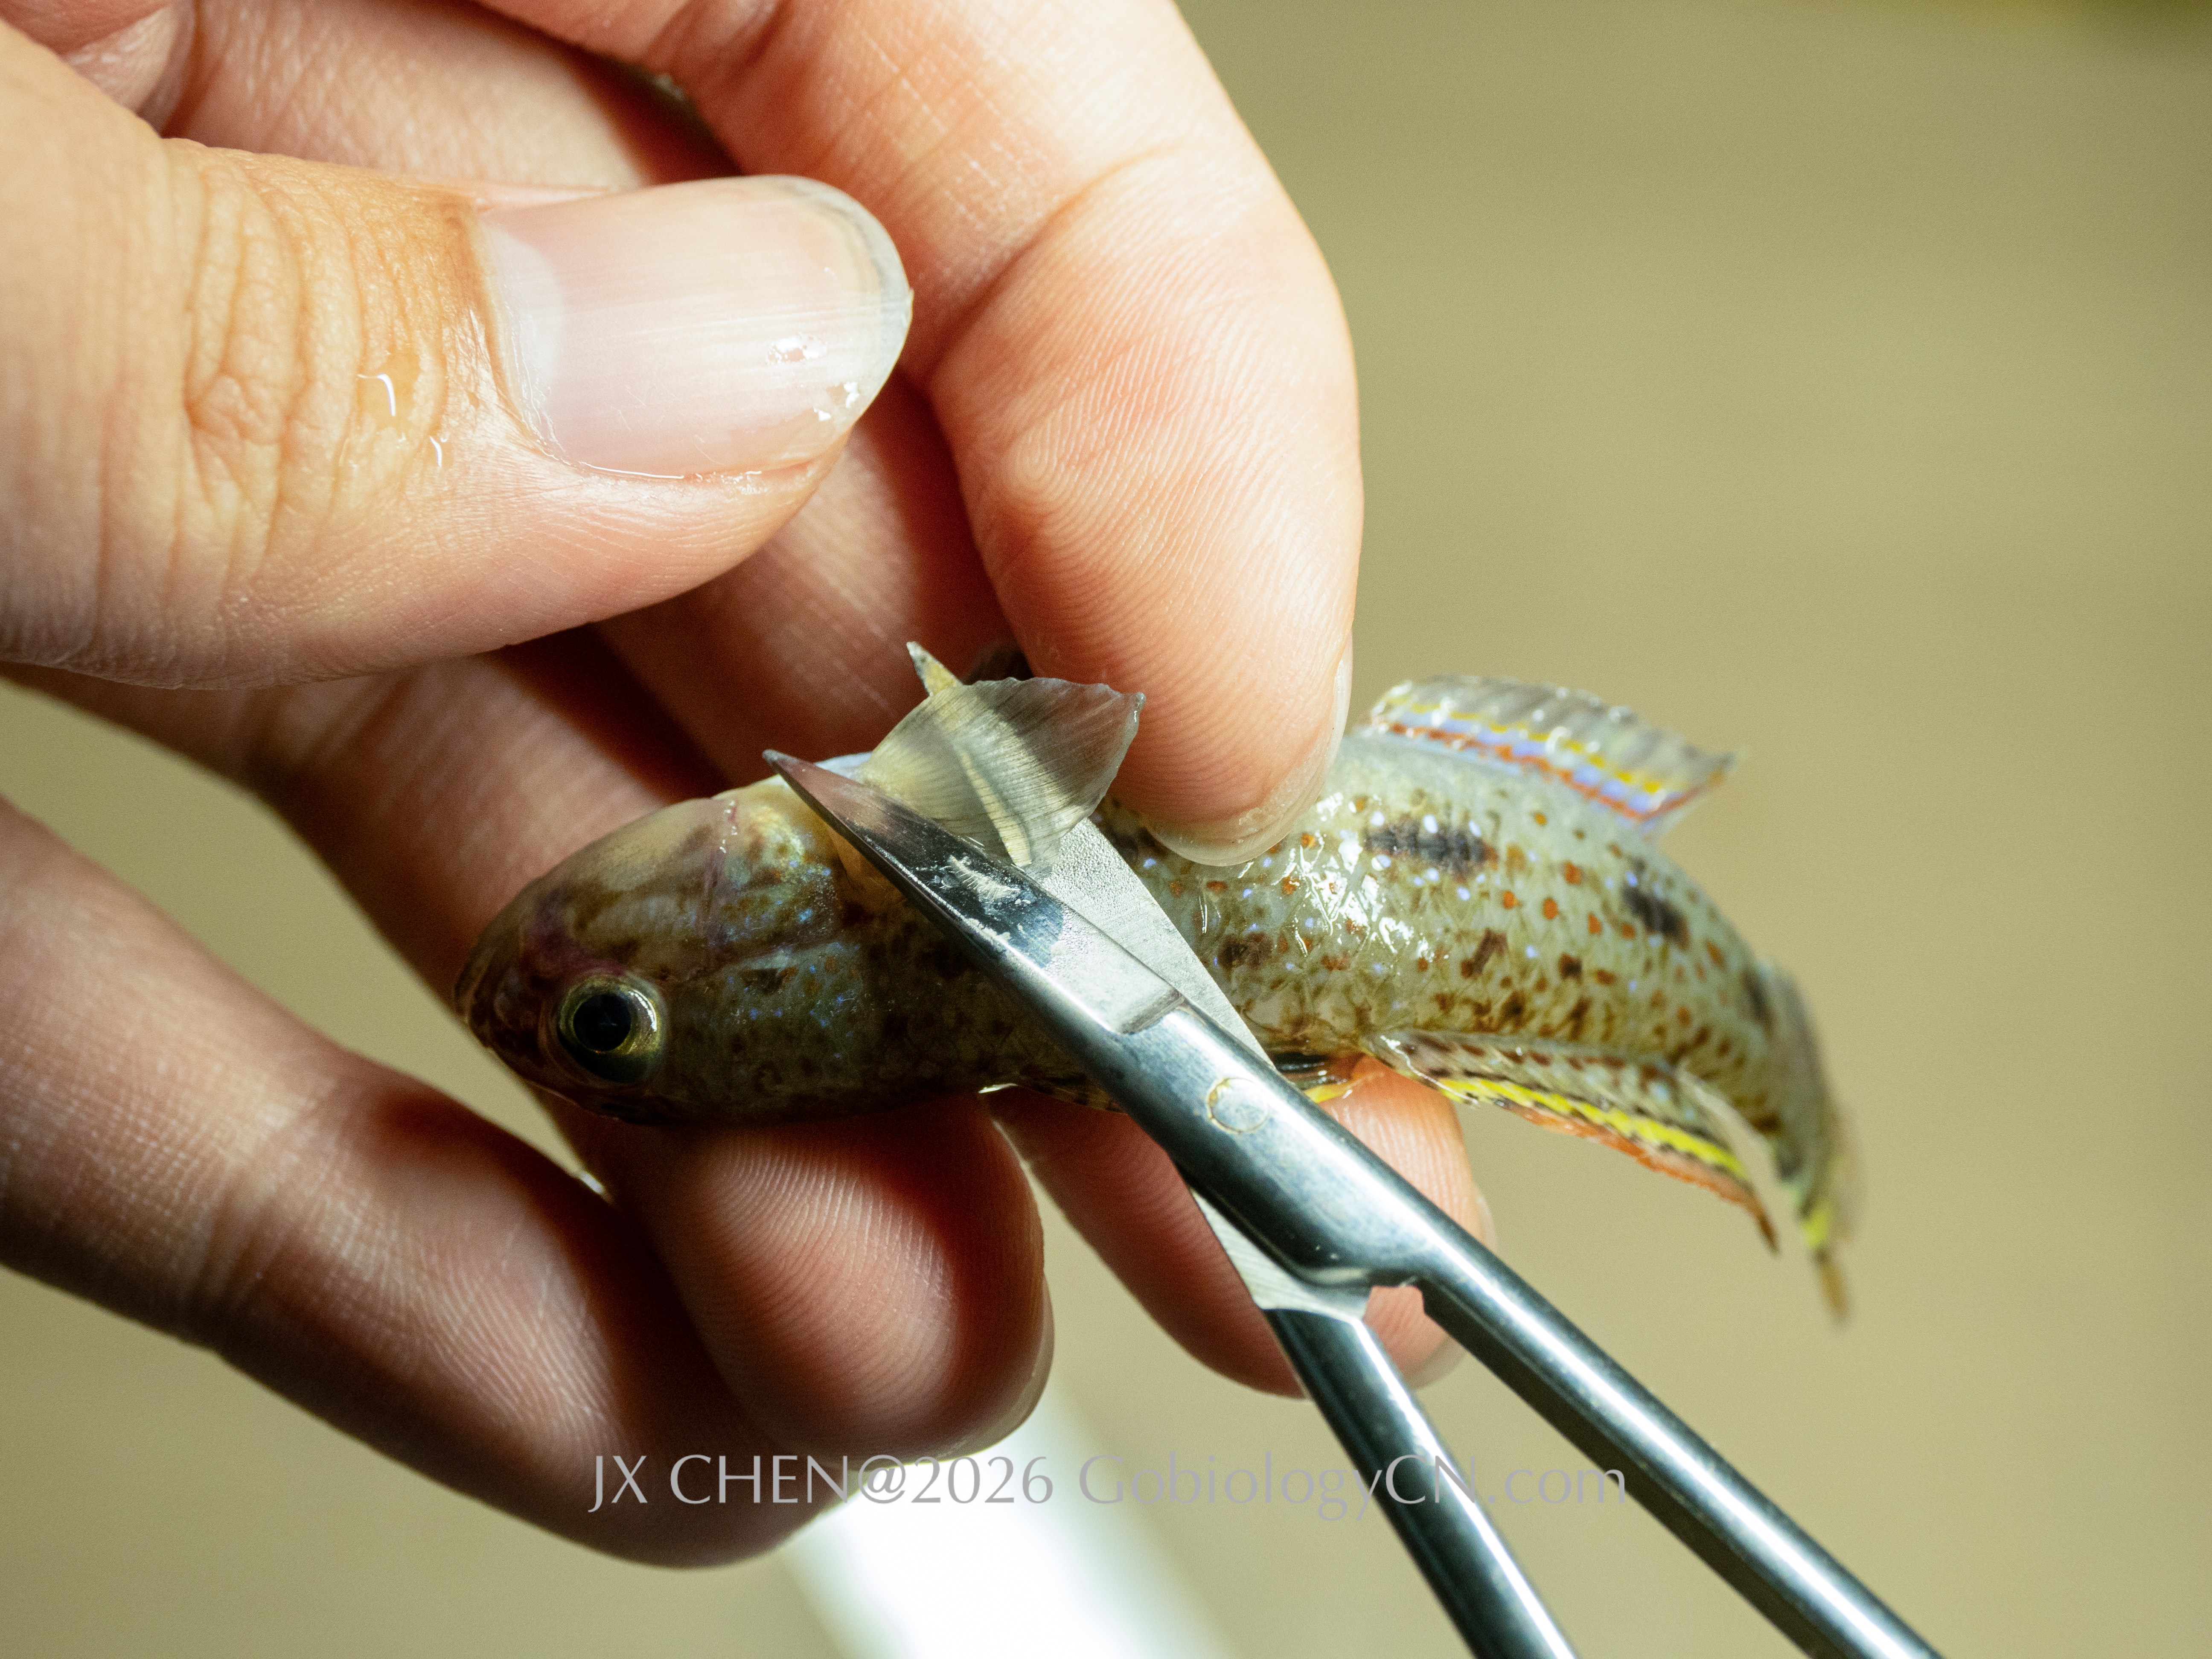
Remove the right pectoral fin for DNA extraction.
Final notes
Many of the steps described above may appear trivial, but in my experience, they make a substantial difference when working with small gobies. Small distortions, especially in the head or dorsal fins, can easily occur during preparation, and once fixed, they cannot be corrected. Careful handling at the beginning is therefore essential.
This workflow is not intended as a strict protocol, but rather a practical approach that has worked well for me when preparing fresh goby specimens.